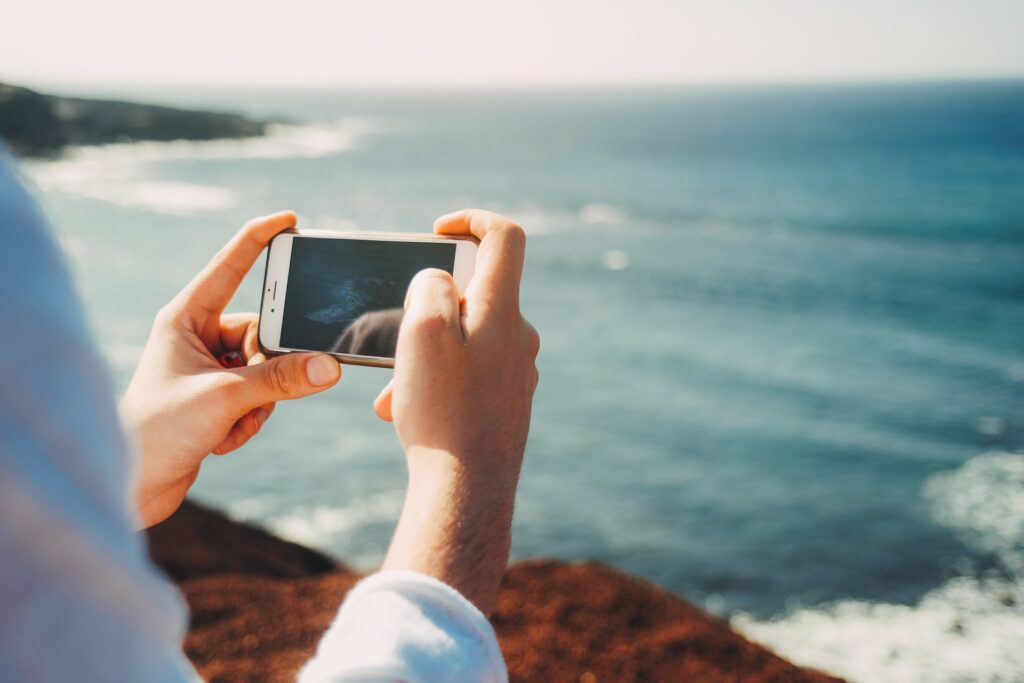
Boating offers some of the most stunning backdrops and dynamic moments you’ll ever experience. Whether you’re cruising calm lakes, navigating coastal waters, or anchoring in secluded coves, the scenes unfolding around you are worth documenting. Yet capturing quality video on a boat presents unique challenges. The motion of the water, the glare of sunlight, and the constant movement of your vessel can turn what looks spectacular in person into shaky, washed-out footage on your phone.
The good news is that modern smartphones have become remarkably capable cameras, and with the right techniques and tools, you can record video that truly captures the beauty and excitement of your time on the water. Many boaters are discovering that their phones can handle the job better than they expected, especially when paired with stabilization equipment like smartphone gimbals. This guide walks you through practical strategies for recording better boating videos, from preparation and settings to in-the-moment techniques that will elevate your content.
Understanding Your Phone’s Video Capabilities
Modern smartphones pack impressive video technology into a compact package. Most current models can shoot in 4K resolution, capture slow-motion footage, and handle challenging lighting conditions far better than phones from just a few years ago. However, knowing your phone’s capabilities is the first step toward using them effectively.
Start by exploring your phone’s native camera app and its video settings. Most phones allow you to adjust resolution, frame rate, and exposure before you hit record. On the water, you’ll want to consider shooting in 4K if your phone supports it and you have adequate storage, as this gives you flexibility in editing and cropping later. Frame rate matters too. Standard 24 or 30 frames per second works well for smooth, cinematic footage, while 60 frames per second is excellent for action sequences or slow-motion playback.
Pay attention to your phone’s stabilization features. Many newer models include optical or digital image stabilization, which helps reduce the jittery appearance caused by hand movement or boat motion. However, these built-in features have limits, especially in challenging conditions like rough water or fast movement.
Managing Light and Exposure on the Water
Water presents a unique lighting challenge. Sunlight reflects off the surface, creating bright spots and glare that can confuse your phone’s exposure meter. This often results in footage that’s either too dark or washed out, with blown-out highlights where the sky meets the water.
To manage exposure, tap on your phone’s screen before recording to set a specific focus point and exposure level. Choose an area of your scene that represents the tones you want to preserve. If you’re filming someone on deck with water in the background, tap on their face to expose for them rather than letting the camera average the entire bright scene. This prevents your subject from appearing as a silhouette.
Consider the time of day when planning your shoots. Early morning and late afternoon light is softer and more forgiving than harsh midday sun. If you’re filming during peak sun hours, position yourself so the light comes from the side or behind your subjects rather than directly into the camera lens. This creates more dimensional, visually interesting footage.
Polarizing filters designed for smartphone cameras can reduce glare and enhance colors when filming on water. These are inexpensive accessories that screw onto your phone’s lens and make a noticeable difference in video quality, particularly on bright days.
Stabilization Techniques for Smooth Footage
The constant motion of a boat is the biggest obstacle to smooth video. Even slight movement becomes exaggerated on screen, making footage appear unprofessional or unwatchable. Beyond your phone’s built-in stabilization, several techniques and tools can help.
Holding your phone steady is the foundation. Use both hands, keep your elbows close to your body, and brace yourself against a solid part of the boat. If you’re standing, spread your feet shoulder-width apart for better balance. Avoid panning or zooming while recording, as these movements amplify any instability.
Mounting your phone to a fixed point on the boat eliminates hand movement entirely. Suction cup mounts work well on railings or cabin windows, while adhesive mounts can attach to the helm or other surfaces. Position your phone to capture the action without being in the way or at risk of falling overboard.
For handheld shots, move slowly and deliberately. Quick, jerky movements look worse on video than smooth, intentional motion. If you’re walking across the deck, move at a steady pace and let the camera follow the action rather than trying to track multiple subjects at once.
Capturing Compelling Boating Moments
The best boating videos tell a story. Rather than simply recording everything, think about the moments that define your experience. These might include sunrise from the helm, someone casting a line, the wake behind the boat, approaching an island, or quiet moments at anchor.
Vary your shots. Capture wide establishing shots that show where you are, medium shots of people and activities, and close-ups of details like water texture, wildlife, or equipment. This variety makes editing easier and keeps viewers engaged. Record audio intentionally. Wind noise can overwhelm footage recorded on the water, so consider using an external microphone if you plan to include narration or want to capture ambient sound more clearly. Many boaters find that recording ambient sound naturally and adding music in post-production works well.
Pay attention to composition. Use the rule of thirds by positioning your main subject off-center rather than dead in the middle of the frame. This creates more visually interesting footage. Leave headroom above people’s heads, and avoid cutting off limbs at joints.
Editing and Sharing Your Content
Recording is only half the battle. Editing transforms raw footage into polished content worth sharing. Fortunately, smartphone editing apps have become sophisticated enough to handle professional-looking results.
Start with basic edits: trim unnecessary footage from the beginning and end, cut out mistakes or boring sections, and arrange clips in a logical sequence. Add transitions between clips, but use them sparingly. A simple fade or cut usually works better than elaborate effects.
Color correction can make a huge difference. If your footage looks too blue or washed out, most editing apps let you adjust saturation, contrast, and temperature. Subtle adjustments often yield better results than aggressive changes.
Music sets the mood for your video. Choose tracks that match the pace and feeling of your footage. Upbeat music works for action sequences, while calm instrumental pieces suit peaceful anchoring scenes. Ensure you have rights to any music you use, or select from royalty-free libraries.
Conclusion
Recording quality video on your boat doesn’t require expensive equipment or technical expertise. By understanding your phone’s capabilities, managing light and exposure thoughtfully, stabilizing your footage, and capturing intentional moments, you’ll create videos that genuinely reflect the beauty and excitement of your boating experiences. Start with these fundamentals, experiment with different techniques, and refine your approach over time. Your future self will appreciate having these memories captured well.