Is it time to replace your anchor rode? Follow this step-by-step how-to for splicing line to anchor chain [Includes Video]
It’s off-season and time for seasonal maintenance and repairs. The work actually begins during the sailing season by noting issues that need attention.
In my case, I noticed that the chain in my anchor rode on my sailboat Bay Poet was beginning to rust. I always rinse off the rode as it is retrieved followed with a rinse of the anchor locker. This is the original anchor rode from the original owner dating back to 1998. A new anchor rode was added to my winter to-do list.
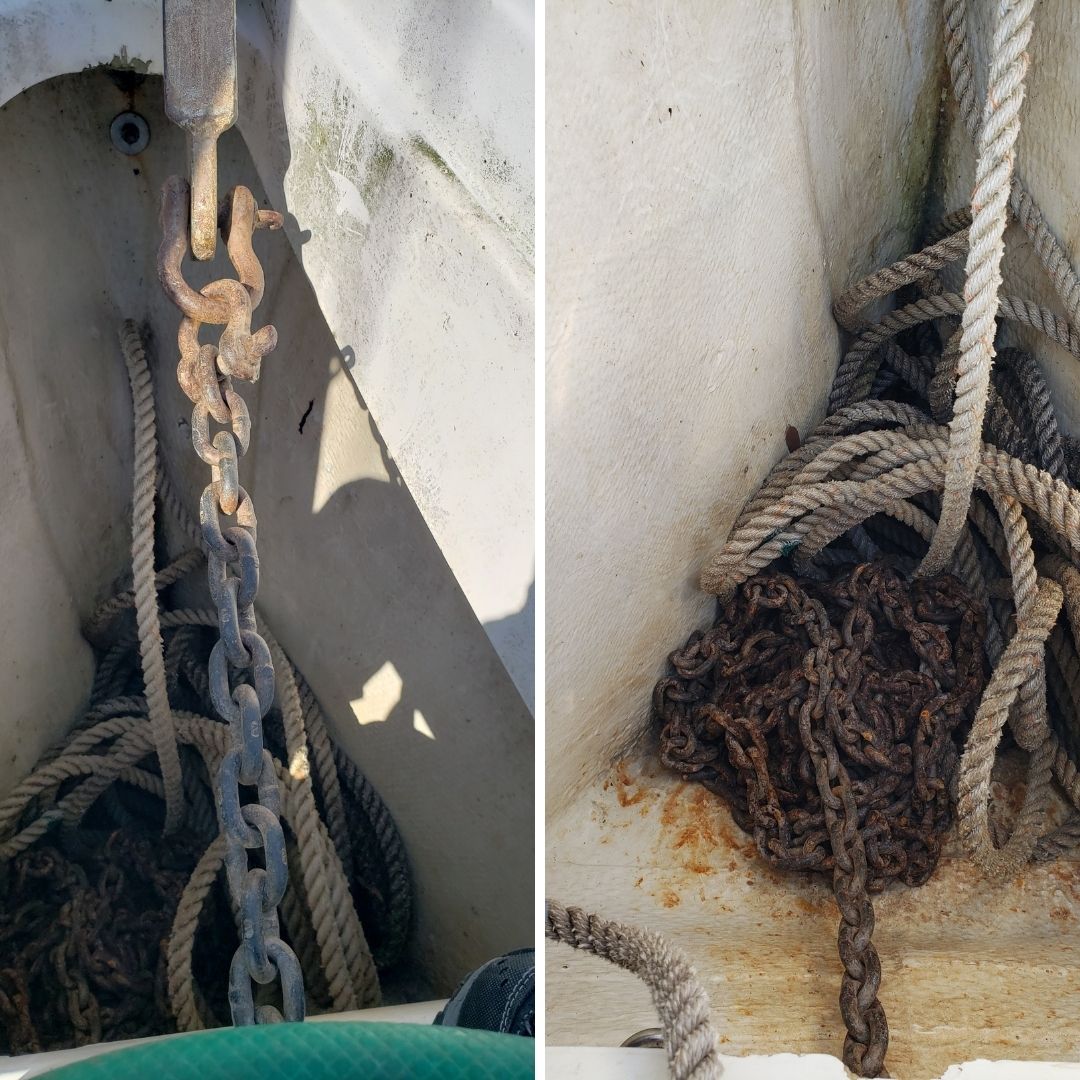
The anchor rode on Bay Poet consists of 50 feet of 5/16” chain and 150 feet of 5/8” 3-strand nylon. It would not be enough to replace just the chain. The 24 year-old 3-strand would be practically impossible to splice on a new anchor chain. Based on the online pricing, I estimated the cost of the project would be about $750. However, there was a sale on when I ordered my materials and the final cost was about $570.
To be absolutely certain I knew the size of the chain I needed, I used a micrometer to measure the inside dimensions of a link as well as the thickness of the link. I was able to identify the correct chain at the local chandlery. However, I had to order my chain because they did not have a contiguous piece that was 50 feet long.
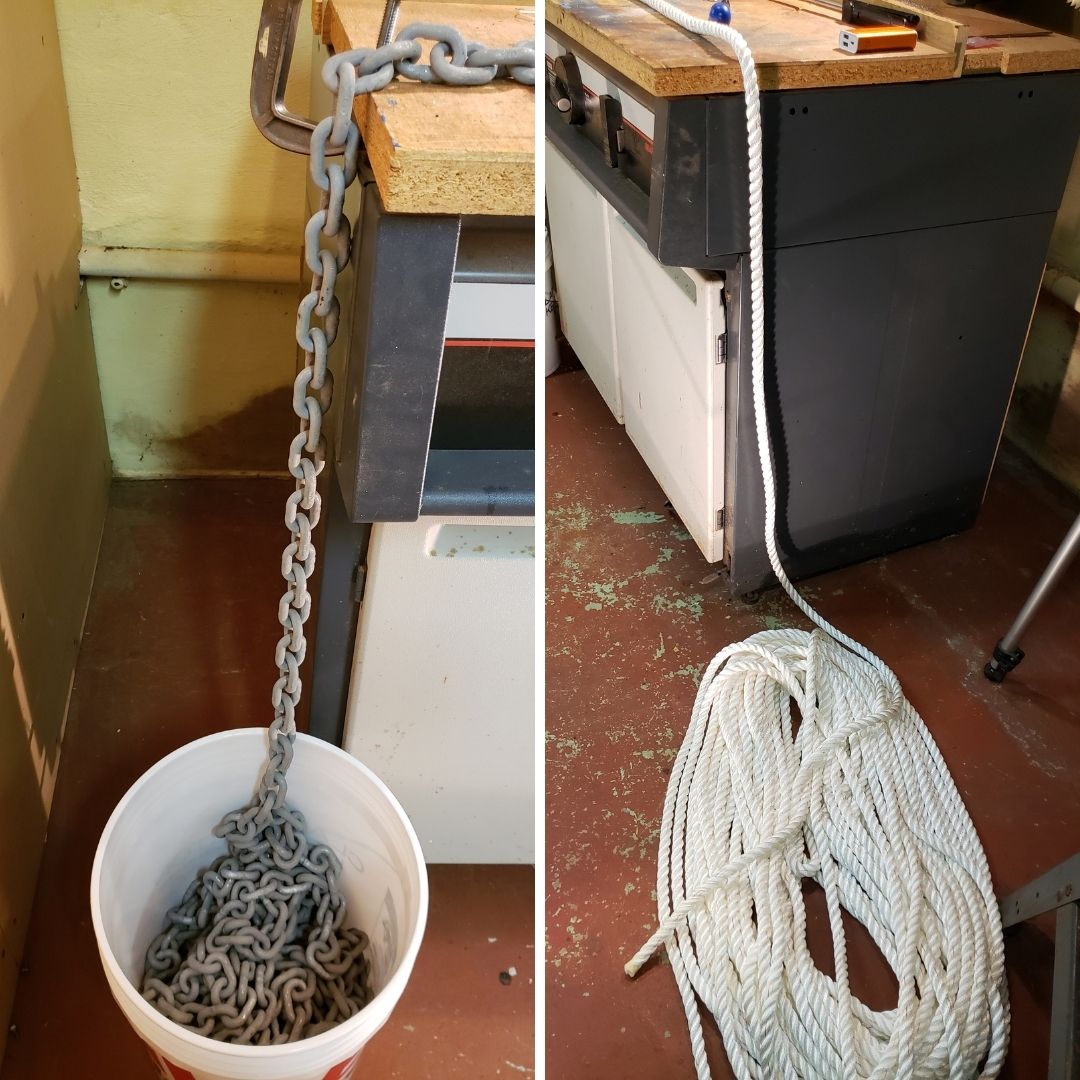
Be very sure of anchor chain sizes
What follows next is an example of caveat emptor. There was some confusion with my order for the chain. When I spoke to a customer service agent on the phone, she questioned whether I wanted proof-coil or high-tensile chain. Her concern was whether the chain that I had ordered was physically compatible with my windlass. I am electrical engineer and a physicist by training and I think I have pretty fair bos’n skills. However, I never expected 5/16” chain (or any size chain) would come in different sizes! The 5/16” high-tensile chain has a smaller link than the 5/16” proof coil chain, which I had ordered. After reviewing my micrometer readings and the different sizes, I convinced myself that I had ordered the right chain for my windlass.
Therefore, the lesson here is to measure your chain thoroughly and accurately and/or consult the manual for your windlass to know what size chain you would need to purchase. In my case, the different was 0.07 inches. Caveat Emptor!
Let’s get to work with line splicing
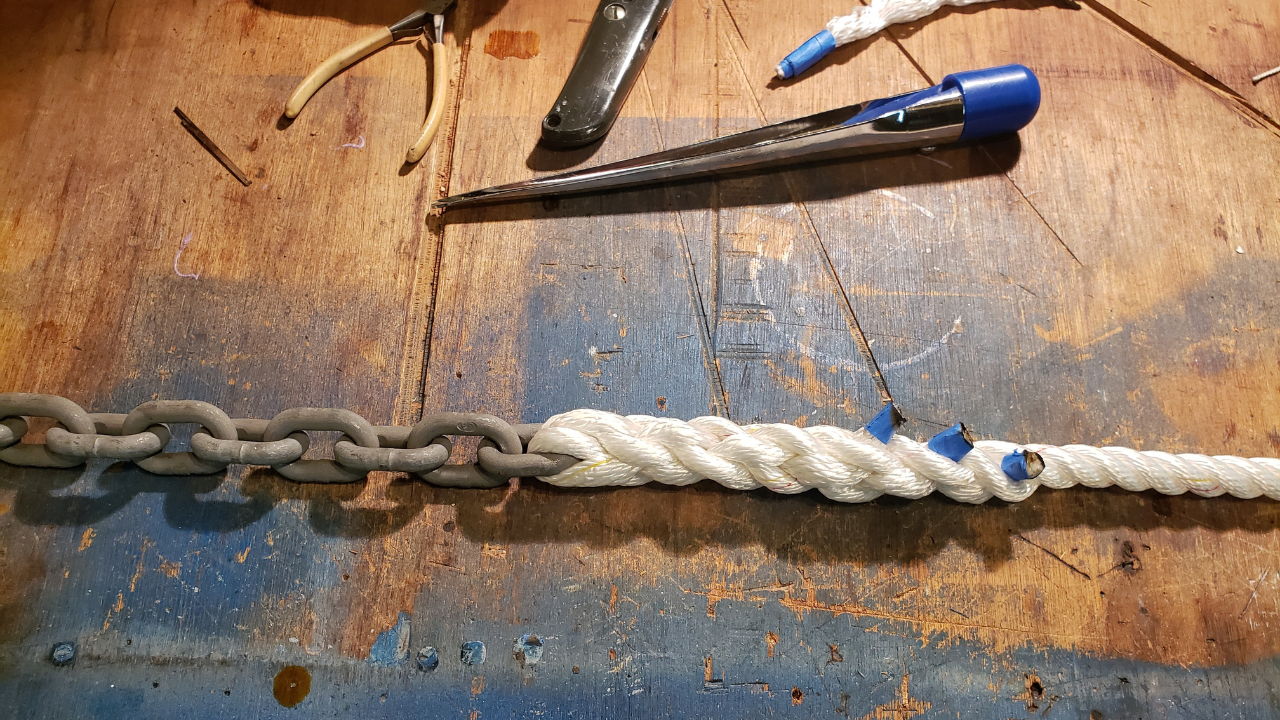
Now that I have the proper supplies, I can begin splicing the 3-strand nylon to the chain. If you know how to make an eye splice in 3-strand nylon, you will not find it difficult to splice line to chain. While the over-under tucks are the same, the splice starts a little different.
Basically, you start by tying a bit of twine around the line at the point where you will stop unraveling the strands.
It is highly advisable to tape the ends of the strands or perhaps apply a temporary whipping. You should only need about a foot or so, but more is okay too. If you let the line lay on a table or bench, the three unraveled strands will more or less lay in a fan pattern. Start by feed the middle strand through the chain link one way, then feed the two “outer” strands through the opposite direction. Snug all three down nice, neat, and tight. Now you can cut away the twine and begin the over and over splicing.
Continue for at least 4 tucks per strand. Now you have to decide how to finish off the splice. You want a smooth taper to make it easy for the line to go around the windlass. There are different ways to go about it. One is to cut 3 or 4 yarns out of each strand before each additional tuck. This may require another 3 or 4 tucks depending on how may yarns there are.
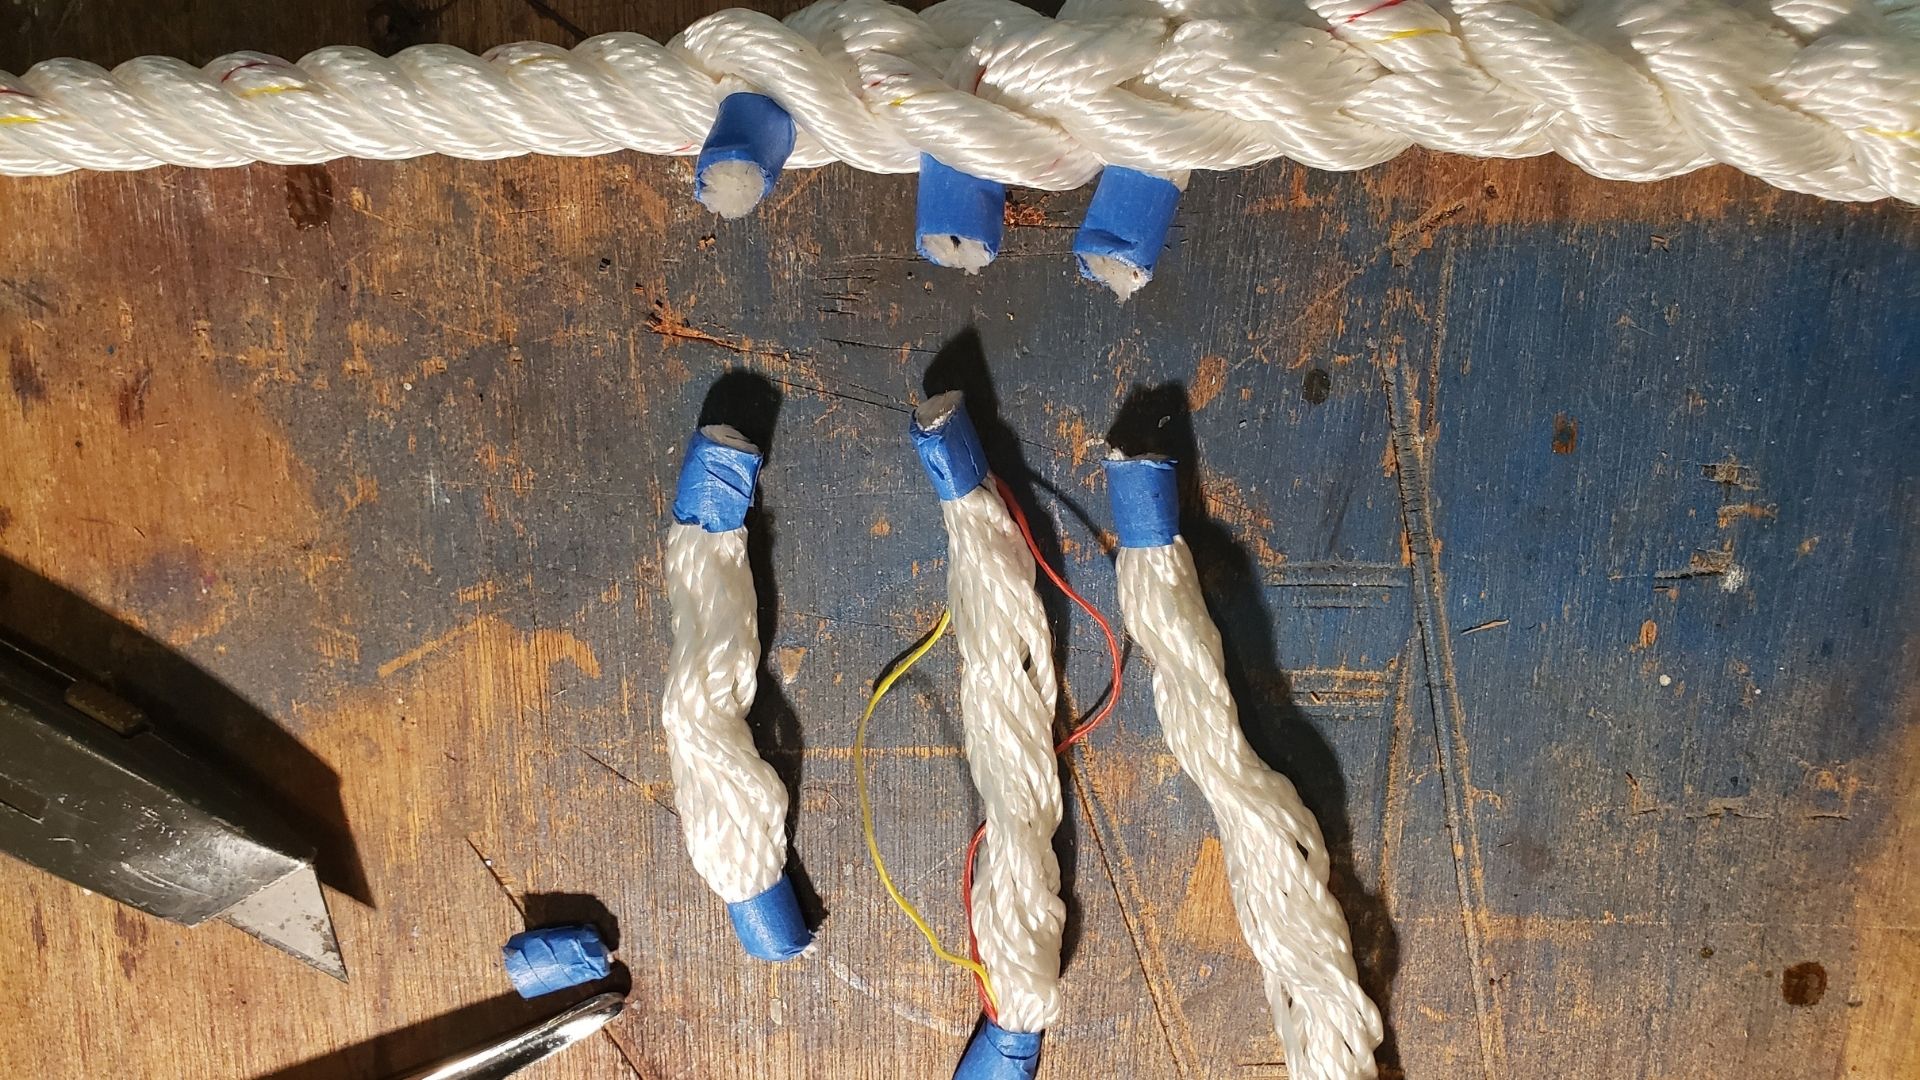
Another method is to tuck two strands on more time, then tuck one of those one more time. Now the three strands should all be lined up on the said side of the standing part of the line. You can use a hot knife to cut off the excess or tape the strands close to the standing part, cut them leaving about half an inch exposed, and then use a torch or lighter to melt the ends. When the anchor takes a strain, the short tails will likely pull in to the standing part.
Check out the video below to see how I did it with my splice.
In summary, check your ground tackle frequently. Signs of corrosion, cracks, or fraying are clear hints that it is time to replace it. Make sure you replace it with the right size line and chain for your boat and windlass. If you don’t want to pay a rigger to splice line to chain, it is easy to learn.
Good ground tackle that is well maintained is one of the best things you can have for a good night on the hook.
Trending Now: Must-Have Boat Gear for Your Boat Life
Trending Now: Custom Boat Decor
-
Boat Pillow with Boat Name & LAT LONG Coordinates
Quick ViewBuy on Etsy -
Boat Pillow with Boat Name & LAT LONG Coordinates- Black
Quick ViewBuy on Etsy -
Coastal Blue Stripes Bathmat with Anchor & Boat Name
Quick ViewBuy on Etsy -
Custom Boat Mat with Boat Name & LAT LONG Coordinates
Quick ViewBuy on Etsy
Disclosure: This site may contain links affiliated with companies where we receive compensation. Also, as an Amazon Associate we may earn from qualifying purchases we refer but it does not impact the price you pay. Full disclosure policy.

