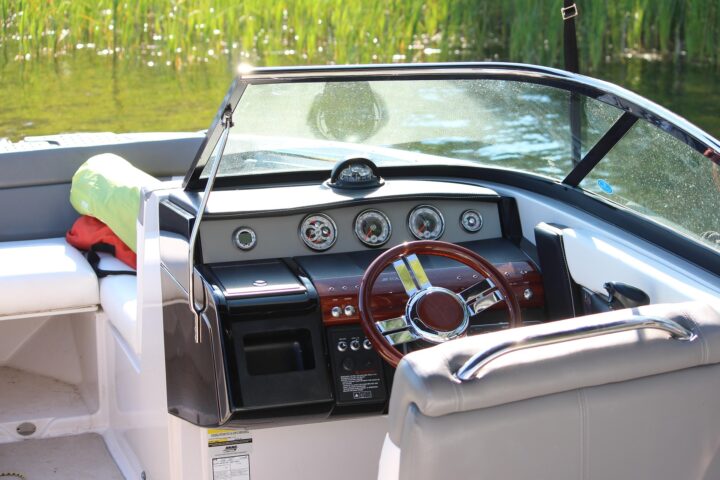
The source of a boat leak is not always easy to find (or fix). Here’s how I diagnosed and repaired a troublesome boat leak on my sailboat
Spring (and the preceding winter) is the time to prepare our boats for the upcoming boating season. In this article, I will discuss finding and addressing two significant leaks into the aft cabin of my Hunter 410 sloop, Bay Poet.
But first, a little bit of history on my boat (and the leak).
When one agrees to purchase a boat, a marine survey by a professional surveyor is highly desirable and if the vessel if being purchased with a loan, the lending institution will likely require one. Since my purchase funds were not secured by the boat, I did not necessarily need a survey but I wanted one since I was a first time buyer. However, certain things are not necessarily revealed during a marine survey. A leak on the starboard side of the aft cabin was one of those.
The excitement of the purchase allowed me to overlook the dark, softened wood on top of the locker at the foot of the owner’s berth. However, a heavy rain over that first winter disclosed the existence of an ongoing issue. Some time later, a more serious leak appeared to present itself on the port side of the same cabin. This was becoming serious. Bareboat charterers were beginning to complain and I saw a drop in my charter revenues. I had to do something.
Finding the Source of a Boat Leak
To find my boat leak, I started looking around the boat for likely suspects. I looked at all the obvious and usual suspects: deck cleats, lifeline stanchions, port lights, and the base of the classic Hunter arch. (I have an early model of the Hunter 410 so the arch is fiberglass and not the more common stainless steel roll bar style of arch).
Typically you look for stress cracks, loose mounting hardware, missing bedding compound, or concentrated streaks of dirt or rust. Even to a detailed examination, I found none of those things. However, my Hunter 410 has a heavy rubber rub rail that covers the deck-hull joint. I could not discount that possibility of some flaw being hidden by that structure.
Next came the online research. Almost immediately, I found forum submissions discussing my exact problem. Rub rails such as mine do hide leaks and what’s more, the point of entry may not be in the vicinity of the place where the leak manifests itself inside the cabin. I was going to have to have the rub rail removed so that I could do a more detailed and unrestricted inspection of the deck-hull joint. As Dirty Harry said in Magnum Force (1973), “A man’s got to know his limitations.” I was going to have to have professional help in removing the rub rail.
Enter Haven Harbor Marina and their crew of service professionals. I got an estimate for time and cost. (You always do that too, right?) The Service manager told me that they could not start taking the heavy rubber off until the average daily temperature was about 50° F. It was important to get this done but given that temperature constraint, spring launch and commissioning was going to be quite late this year.
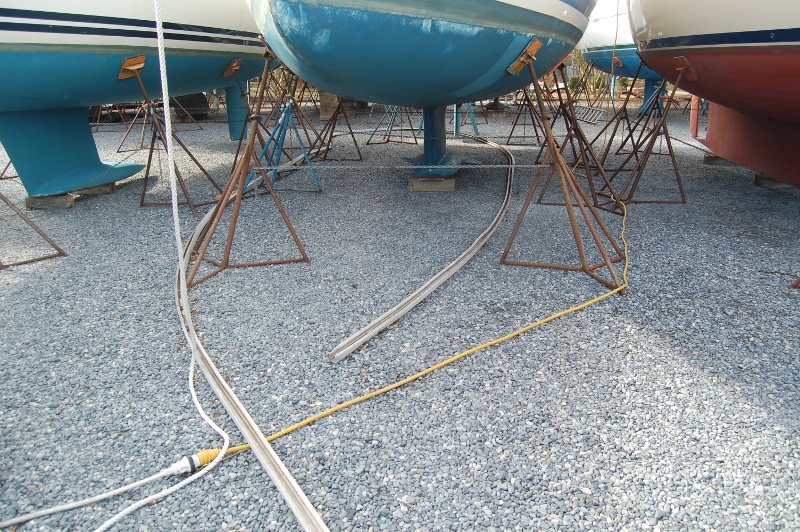
I was quite pleasantly pleased when the Service Manager emailed me in mid-March to say the rub rail was off. This also involved removing the bow stem and forestay. (Yes…can you hear the yard bill racking up?). My helper and I headed to the Bay Poet.

We first looked over the exposed joint…looking for anything blatantly obvious. The most obvious thing was the clumps of gray, hard, gummy remnants of butyl tape that had been squeezed into the space behind the rub rail some time after the boat had been built. This was on the starboard side of the inclined transom and therefore, an area of possible concern.

I also inspected the screws through the joint. Nearly all were shiny and still snug showing no signs of any pernicious leakage. We began washing and scrubbing the small shallow channel between the T-rail and the topside.
My first big ah-ha moment was about to happen. I began scrubbing what I thought was a streak of black dirt and a possible clue to the port side leak. I had no idea how right I was. The “black streak turned out to be an 18 inch crack between the horizontal lip of the deck flange and the vertical coaming around the cockpit.
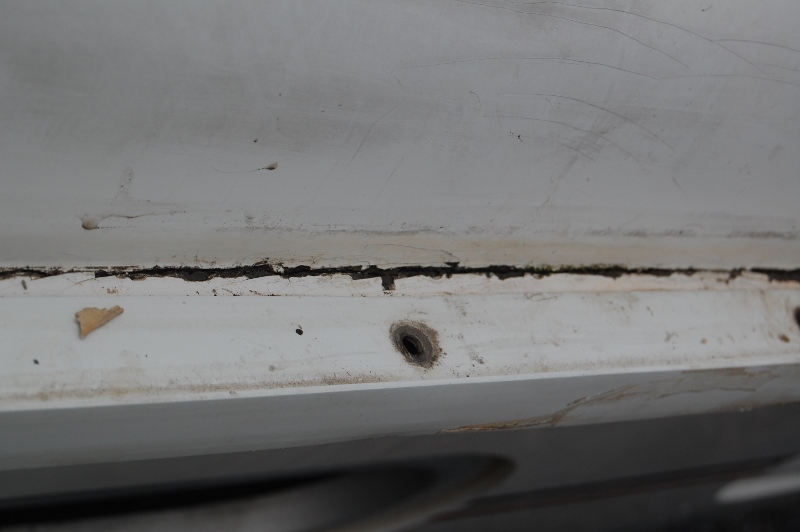
Worse yet, there was a matching crack under the hull flange. It had the look of damage that might have been caused by a HARD port landing. Whether it was the previous owner or a charterer, we had found the port side leak.
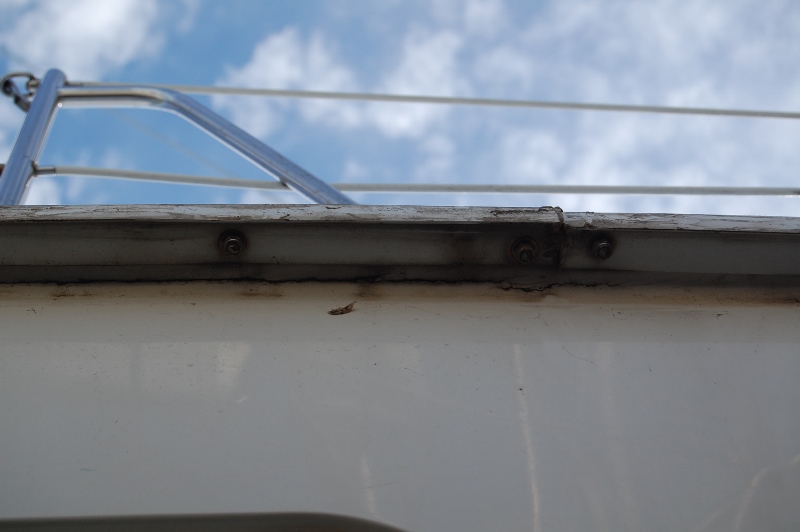
The starboard side was less obvious. There were some anomalies and imperfections in the fiberglass on the deck side flange. There were of the nature of bubbles or clumps of fiberglass and gelcoat. There were also some voids through the gelcoat but none were much bigger than the size of a pencil eraser. Nonetheless, I was going treat this side as well. Admittedly, I was less secure in the starboard side diagnosis.
Repairing the Boat Leak
Even though I had already estimated the cost and schedule, I asked the marina for a quote to repair the cracks. First of all, my estimate was 16% below the $6000 I was quoted. More importantly, given the spring commissioning work going on, they could not possibly schedule the 5 days it would take to do the job. As I anticipated, that exceeded my budget and the time I had to get the boat ready for charter season.
I opted for a more expedient and inexpensive fix. I would use a marine grade sealant to fill the voids and holes and hopefully seal the leaks. There are a number of choices of sealant. All options work well above or below the waterline. The final choice came down to cure time.
While 3M 5200 produces the strongest bond, it takes up to 48 hours for the initial cure and up to 7 days for a full cure…at some nominal temperature. On the other hand, while 3M 4200 has a weaker but quite adequate bond, the initial cure time is hours with final cure time of 24 hours. Both handle similarly in application and clean up.
Life Seal may be another option but the Service Manager recommended the 4200 so that was good enough for me. The cost of all of these sealants is comparable. See the table below for side by side comparison.
Marine Sealant Comparison
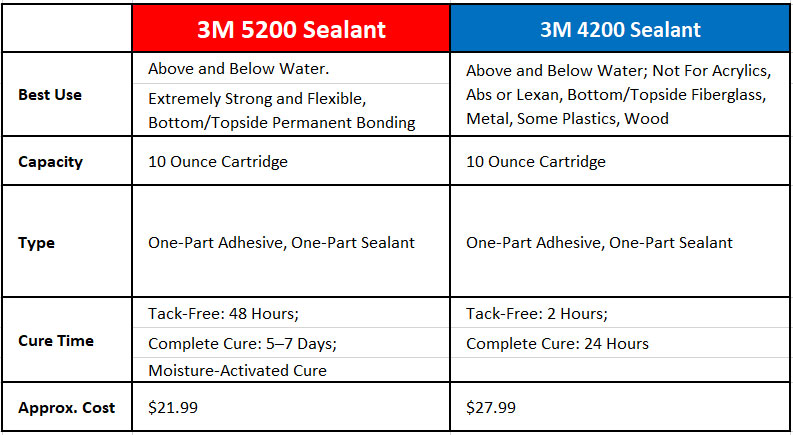
You can pick up 3M 5200 or 3M 4200 marine sealants in 1-3 oz tubes or 10 oz cartridges.
My method of application of the sealant was the same on both sides of the boat. I used a caulk gun to squeeze out a bead of compound. Then I used a gloved finger as a trowel to smooth and level the sealant with the T-rail on the joint and onto the hull or coaming accordingly.
In the case of the port side crack, I poked sealant INTO the voids before smoothing over the area. I had also taken the screws out of the T-rail to investigate the condition of the exposed core laminations. All but one screw hole looked fine. I squeezed a little sealant into that hole before I replaced the screw. Sealant squeezed out from both sides when I tightened the screw.
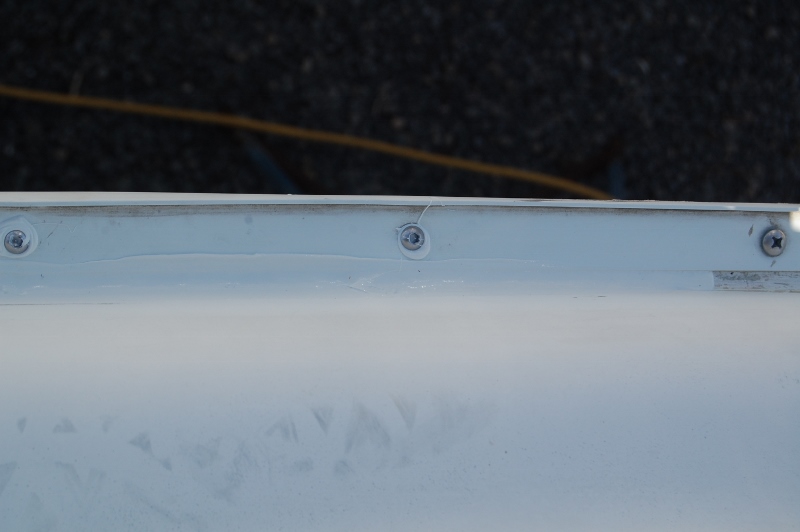
When all was said and done, there was a skim coat layer of at least 1/16” to 1/8” inch over the surface of the gelcoat. The caulk has begun to skim over before I left for the day.
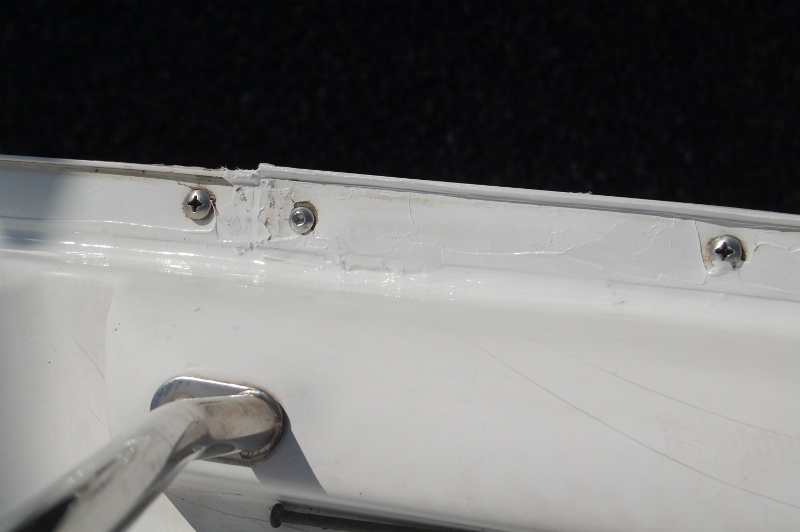
Now the marina has to reinstall the rub rail, reinstall the stem fitting, and retune the rig. It was too cold on their first attempt. The rubber had contracted from the cold and was also too stiff to manipulate.
I am hoping this week we’ll see it all done and that I will find Bay Poet back in her slip.
Trending Now: Must-Have Boat Gear for Your Boat Life
-
SeaSucker Flex-X Cell Phone Mount
$99.00 Quick ViewBuy on West Marine -
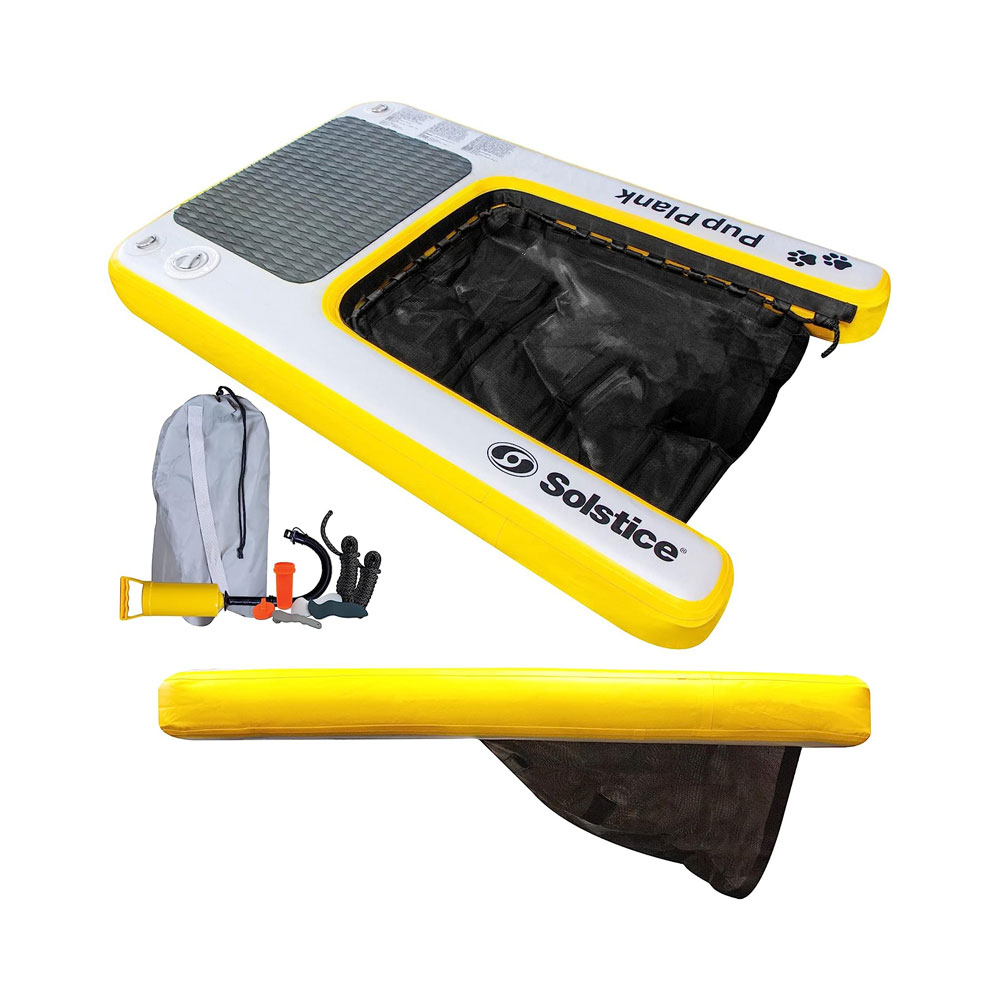
Inflatable Floating Pet Ramp
$249.00 Quick ViewBuy on West Marine -
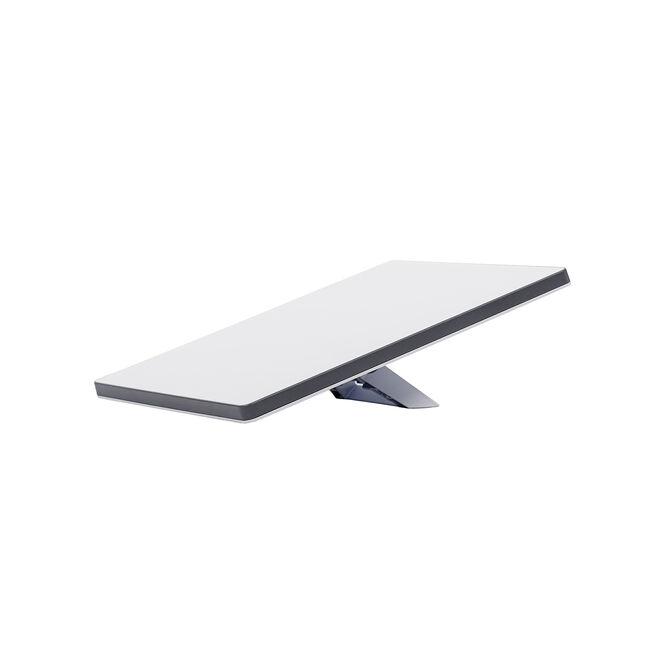
Starlink Mini Kit for High-Speed, Portable Internet on the Go
$599.00 Quick ViewBuy on West Marine -
Sale!
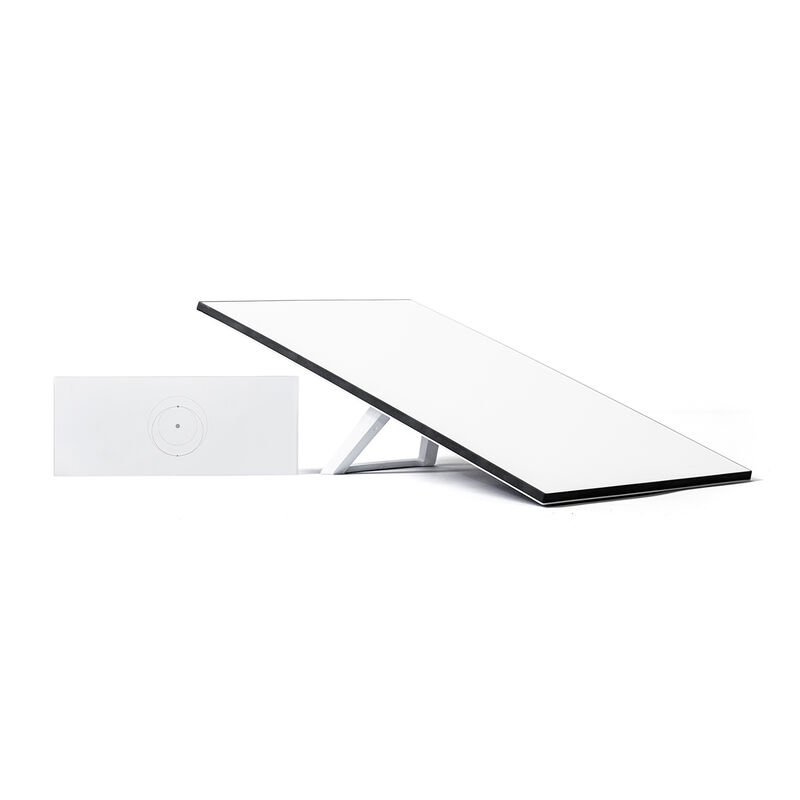
Starlink Standard Kit for Stationary Use: High-Speed, Low Latency Internet
Original price was: $499.00.$349.00Current price is: $349.00. Quick ViewBuy on West Marine
Trending Now: Custom Boat Decor
-
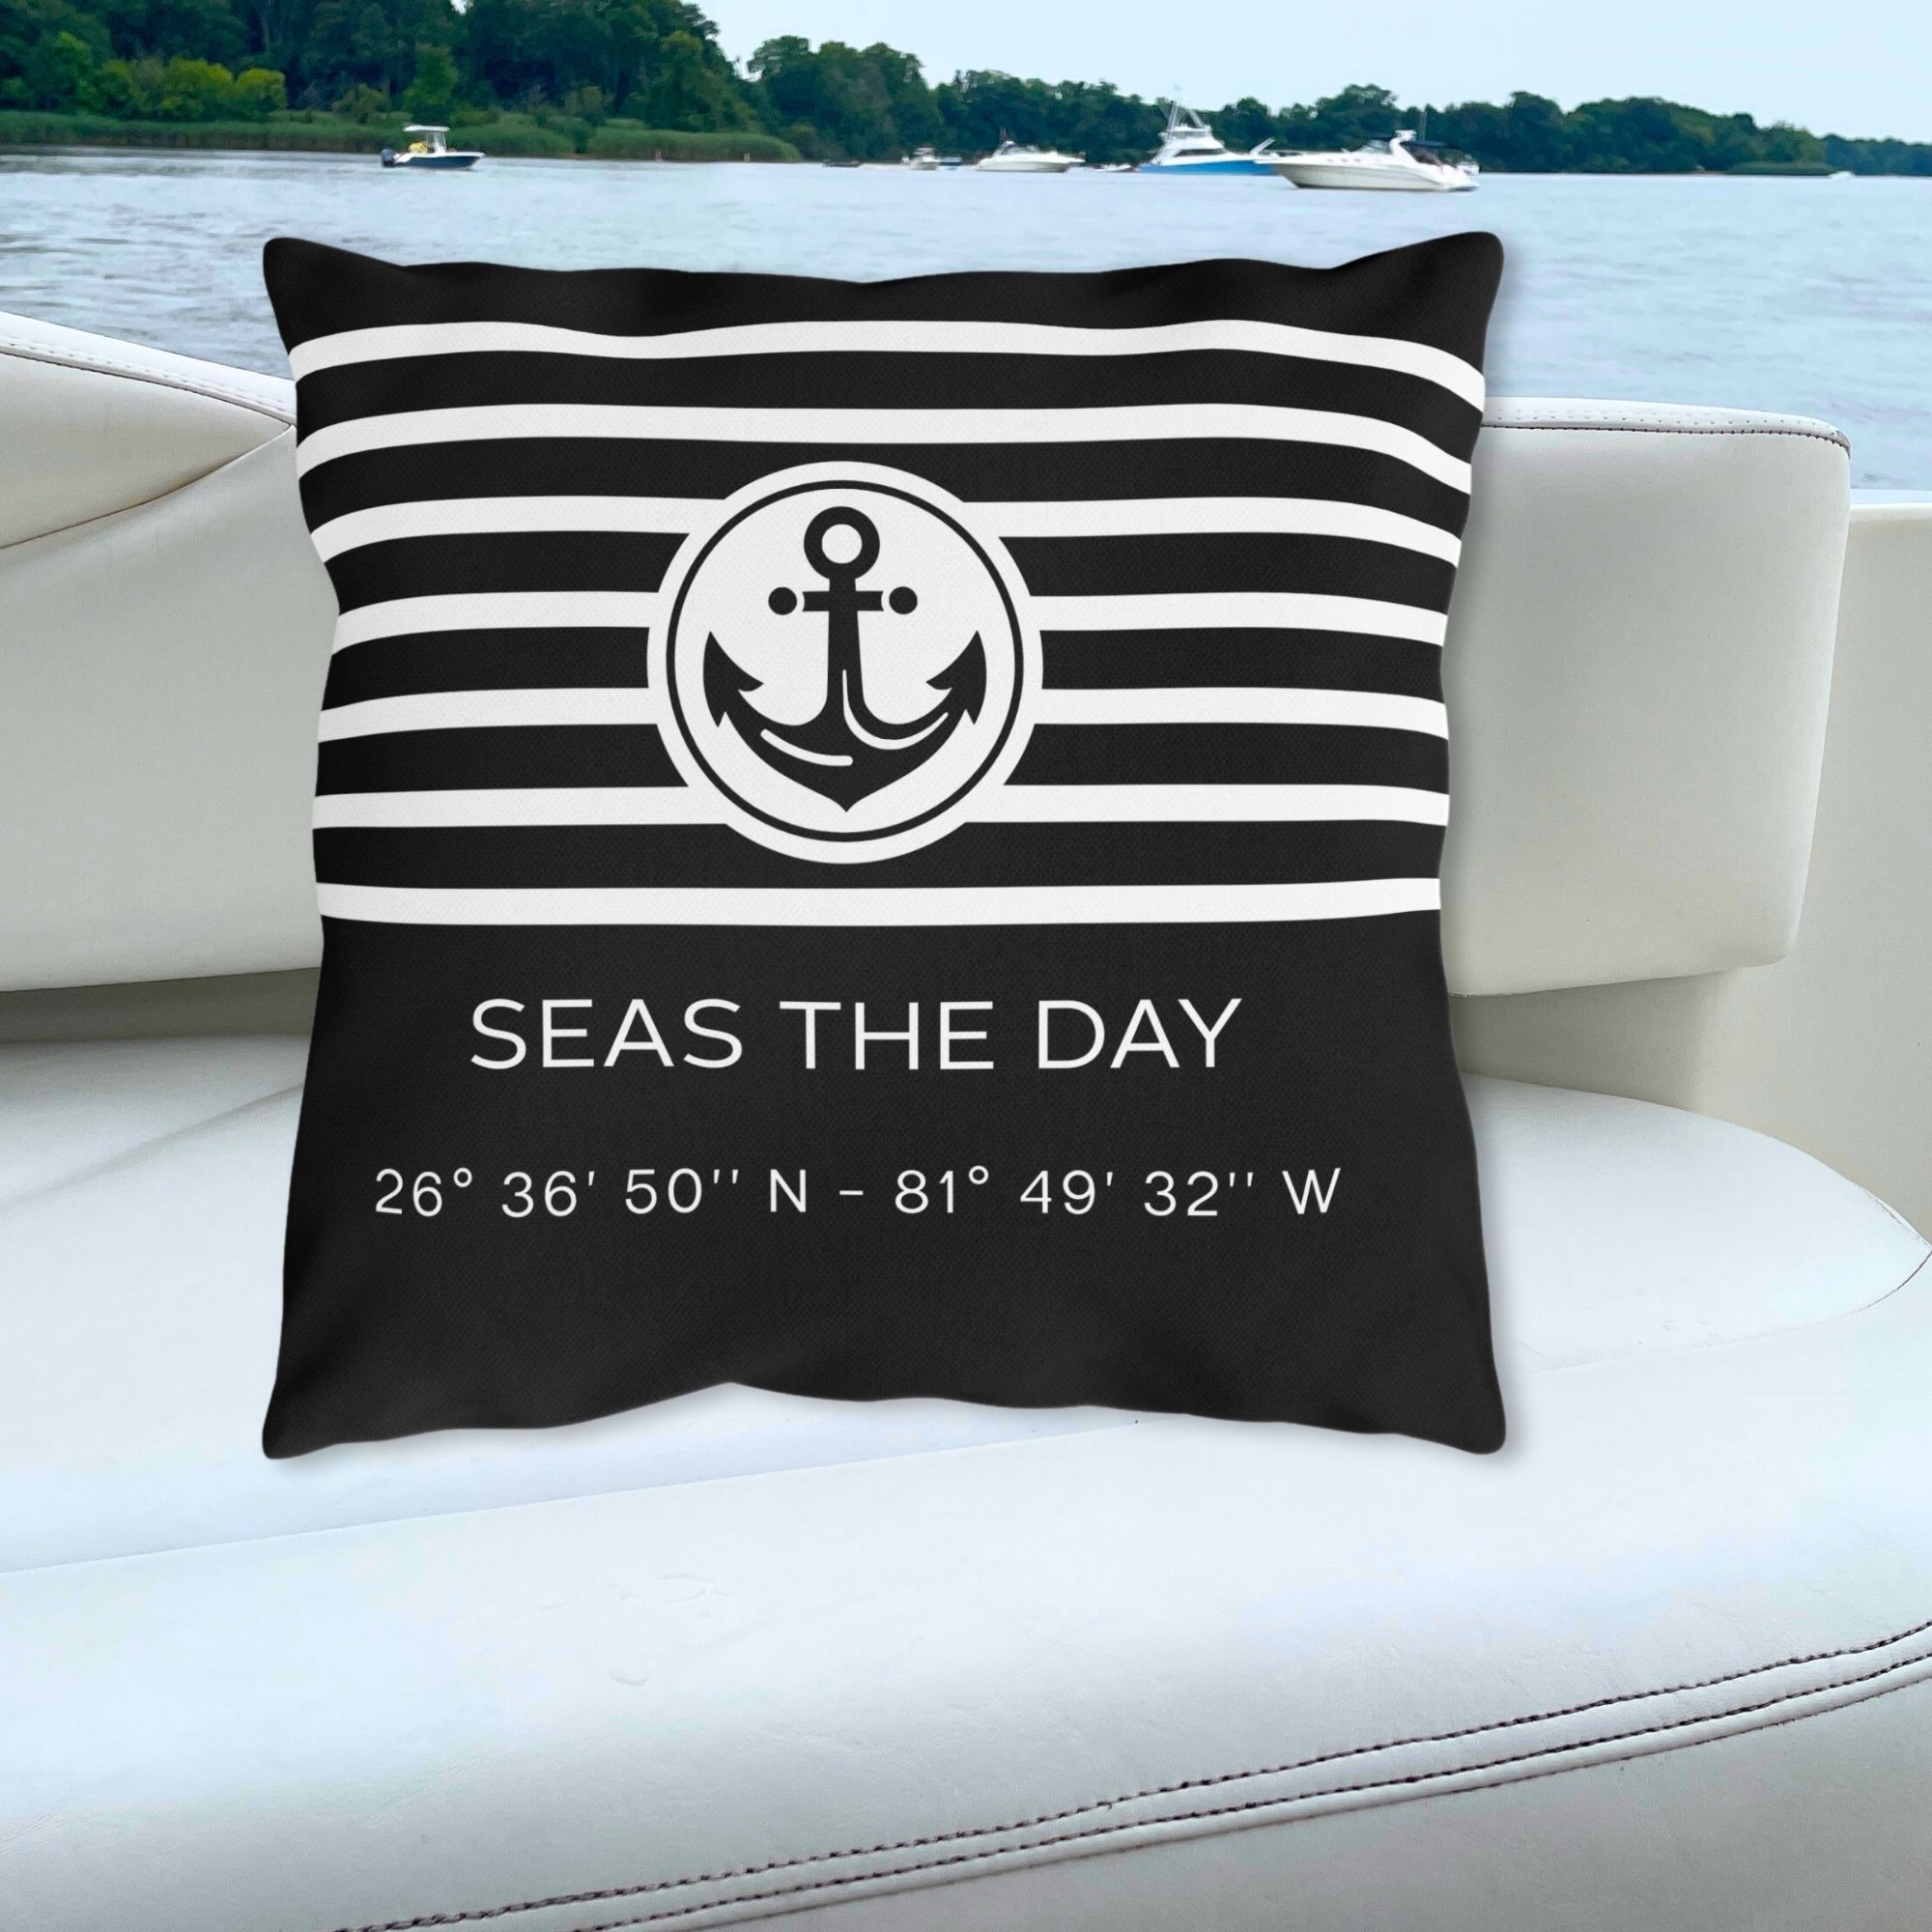
Boat Pillow with Boat Name & LAT LONG Coordinates
Quick ViewBuy on Etsy -
Boat Pillow with Boat Name & LAT LONG Coordinates- Black
Quick ViewBuy on Etsy -
Coastal Blue Stripes Bathmat with Anchor & Boat Name
Quick ViewBuy on Etsy -
Custom Boat Mat with Boat Name & LAT LONG Coordinates
Quick ViewBuy on Etsy
Disclosure: This site may contain links affiliated with companies where we receive compensation. Also, as an Amazon Associate we may earn from qualifying purchases we refer but it does not impact the price you pay. Full disclosure policy.


