A step-by-step process for sanding, prepping and bottom painting your boat [VIDEO]
Bottom paint (also known as antifouling paint) helps protect your boat from barnacles, weeds and other aquatic organisms from attaching to the underwater portion of your boat’s hull. If you leave your boat in the water all season, you need bottom paint.
One of the final spring preparation jobs before launching your boat for the boating season is typically painting the bottom.
As I prepared my sailboat Bay Poet for launch this spring, I started with a winter hull inspection in the yard. That is when I determined what projects need to be completed before launch. This year, I took the opportunity to install a new shower sump and then I replaced the sacrificial zincs on the prop shaft (an annual task for me).
Then it was time for final preparations before launch. This includes washing and waxing the hull, followed by preparing the bottom for painting and then, of course, painting.
Here is the step-by-step process that I took this year to prep and paint the bottom of my boat.
Preparing to Paint the Bottom
Determine the Scope of the Work
During that walk-around inspection to which I referred, you may have identified some dings and defects in your fiberglass. If you did find any, you will need to have those repaired or do that yourself.
Those sorts of repairs are beyond the scope of this article. If any deep repairs are necessary…and that would be any damage that might compromise the integrity of the fiberglass, they will need to be addressed and absolutely so if the core is exposed.
It is important to get any such repairs made BEFORE you proceed to sand the bottom in preparation to paint. This way any fiberglass repairs or patches can be faired before your paint. The repair may also need a barrier paint applied before you apply the bottom paint.
Understand that the purpose for sanding is not to remove all of the existing bottom paint, if any. It is to create a surface which will allow better bonding with the new layer of paint. In other words, you want the surface to be painted to have some “tooth”.
Preparing to Sand
A note of caution here: Bottom paints are generally toxic. That is the purpose for them – to inhibit the attachment and growth of organisms, both plant and animal. It will do this by sloughing off microscopic layers while underway. However, the paint itself will often contain a biocide. That biocide is generally non-specific and somewhat toxic for humans as well.
Before attempting to sand your boat’s bottom, check with your marina for their guidelines. You will likely be required to use a ground cover to catch any falling paint particles and dust. You may also have to connect your electrical sander to a dust collection system, generally a shop vac with a HEPA filter installed. Under no conditions should you allow any of the sanding dust to wind up in the water.
 You and your helpers should wear non-breathable coveralls like the Tyvek type available in many home centers. You should also wear high quality dust filter breathing masks, safety goggles, and gloves.
Allow for a full day or more. The more helpers you have, the faster it will go. But don’t rush because that will lead to a poor surface preparation or injury. Do not assume that you will be able to sand and paint all in one day.
Before sanding, you may need to use a stiff brush or scrubbing pad to wash away any remaining dirt or organic material. Be very careful with barnacles as they can be very sharp and cause injury. Sometimes you can pop them off with a paint scraper. Other times, you might have to sand them off.
Sanding
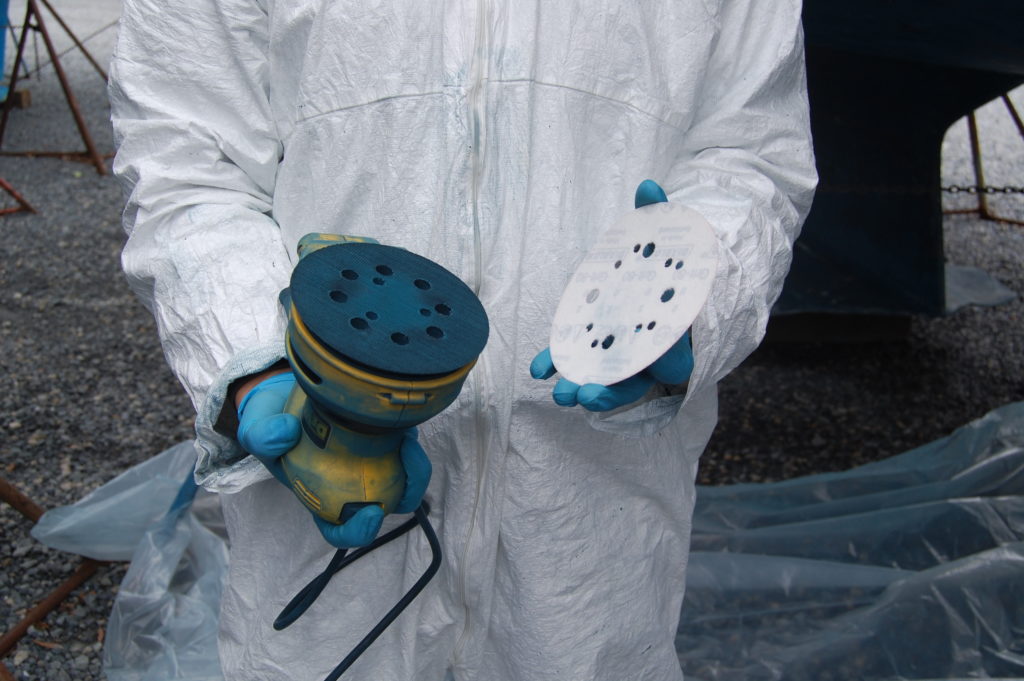
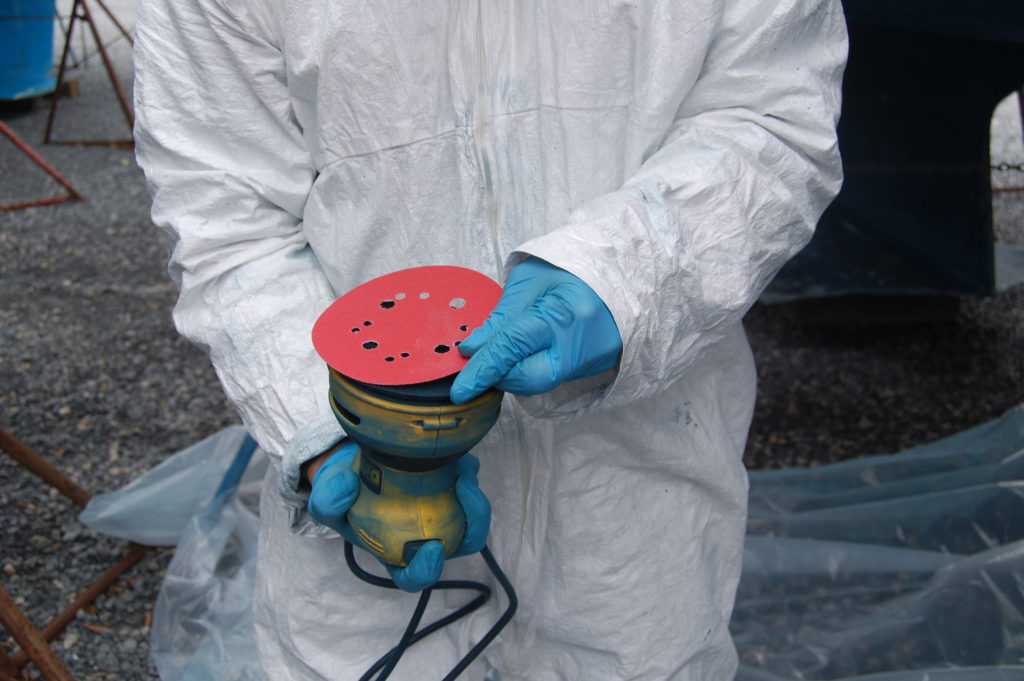 I use a random orbital palm sander with a 6-inch disc. I prefer using about 80-grit. It is coarse enough to remove paint quickly but not so coarse as to dig in too deep too quickly.
As with woodworking, you want to start the sander before putting it on the hull and then keep it moving so it does not remove too much material in one spot. If you paint your prop shaft and propeller, don’t forget to sand them as well but you are likely to have to do those by hand.
Sanding is generally tedious and some of the positions in which you find yourself will be uncomfortable. I guarantee that you will “feel your work” the next day or two after you are done!
Clean up
When you are all done with that, dispose of any collected dust and debris in an approved manner. This is a matter of local environmental regulations and just plain common sense. You may also want to throw away your coveralls as they will be very dusty.
Bottom Painting
Tools and Protective Clothing
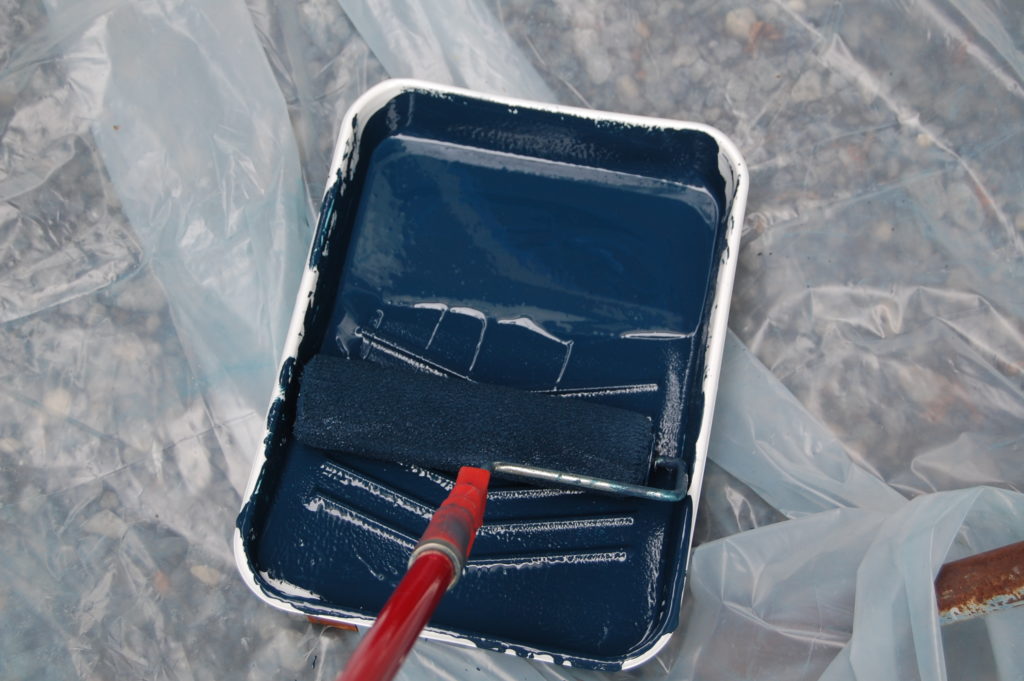
For the best quality job, you will want to purchase good quality brushes and rollers. At the same time, it will probably not be worth the effort to clean your rollers and brushes at the end of the job. I choose to just throw those away along with the pour spout, rags, and disposable gloves. I do keep the roller handles, extension rods, and plastic painting tarps.
I also wear Tyvek coveralls but not the same ones I might have used during sanding. I will reuse my painting my coveralls until they become too damaged for use. I also wear safety glasses. If you have to get paint off your prescription glasses, it can damage the lenses and coatings. So for the tools that you can reuse, it is worth buying good quality. For items that will be used only once, buy good quality but not top of the line.
Painting Day
 You will need and want a warm, clear, calm day. Bottom paints need to be applied generally when the temperature is at least 50 degrees Fahrenheit. The manufacturer will say that that should be the minimum temperature for 2 days or more until the paint has set up, my experience is that as long as it is 50 when you paint and does not drop below freezing for at least 2 days, the paint will do fine.
I have seen marina staff paint a boat and immediately launch it. I am not sure about that but while you might be able to paint in damp weather, you probably won’t want to do so for your personal comfort, if nothing else.
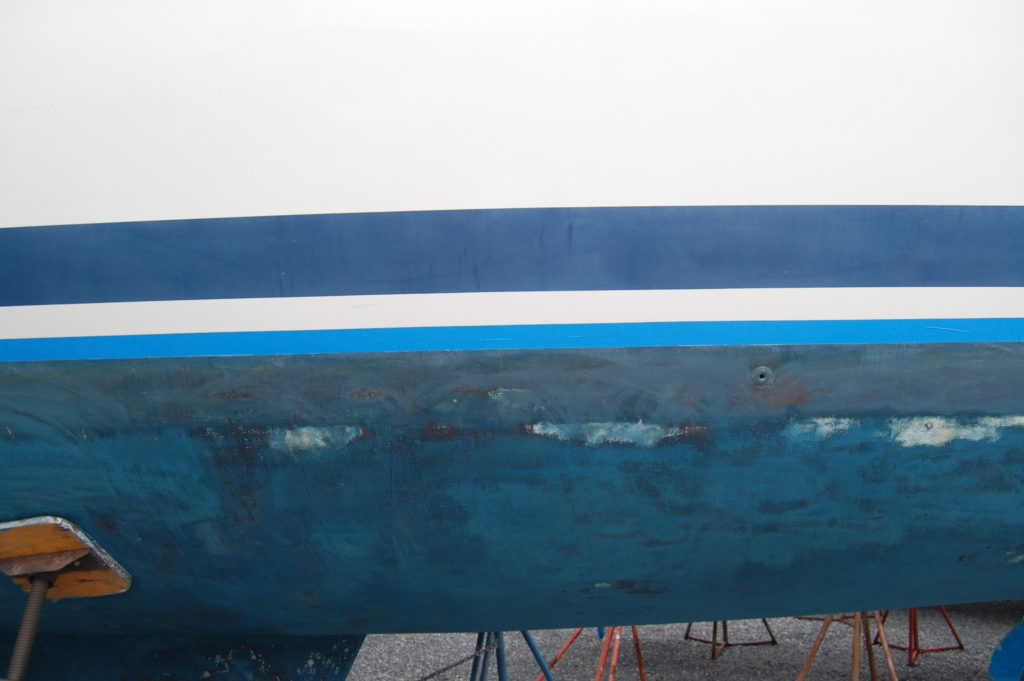 I use a 2-inch painter’s tape placed at the line between the bottom paint and gel coat. It makes it so that you don’t have to be as careful at the edge or worry about cutting in the border by hand with a brush.
Next I spread a plastic drop cloth and keep moving it to keep it underneath the area on which I am working.
(NOTE: some marinas will put down a ground cover for you when your boat is hauled out. Of course, there is a cost but that is a decision you may be able to make.)
My preference is to start from the rear since all of the more complicated structures like the rudder and the through-hull box from which the prop shaft exits are in the back.
Work from the wet edges. For all the crevices and corners that your roller can’t quite reach, go back afterward with a smaller roller or a 2 to 3-inch brush. I do not worry about the complete underside of the bulb keel but I will do the underside of wings and under the front of the bulb.
Do NOT attempt to move jack stands on your own when you paint. Coordinate with your marina to have their staff move the stands or alternatively, the marina may paint the areas under the jack stand pads when they launch the boat.
Cleaning Up
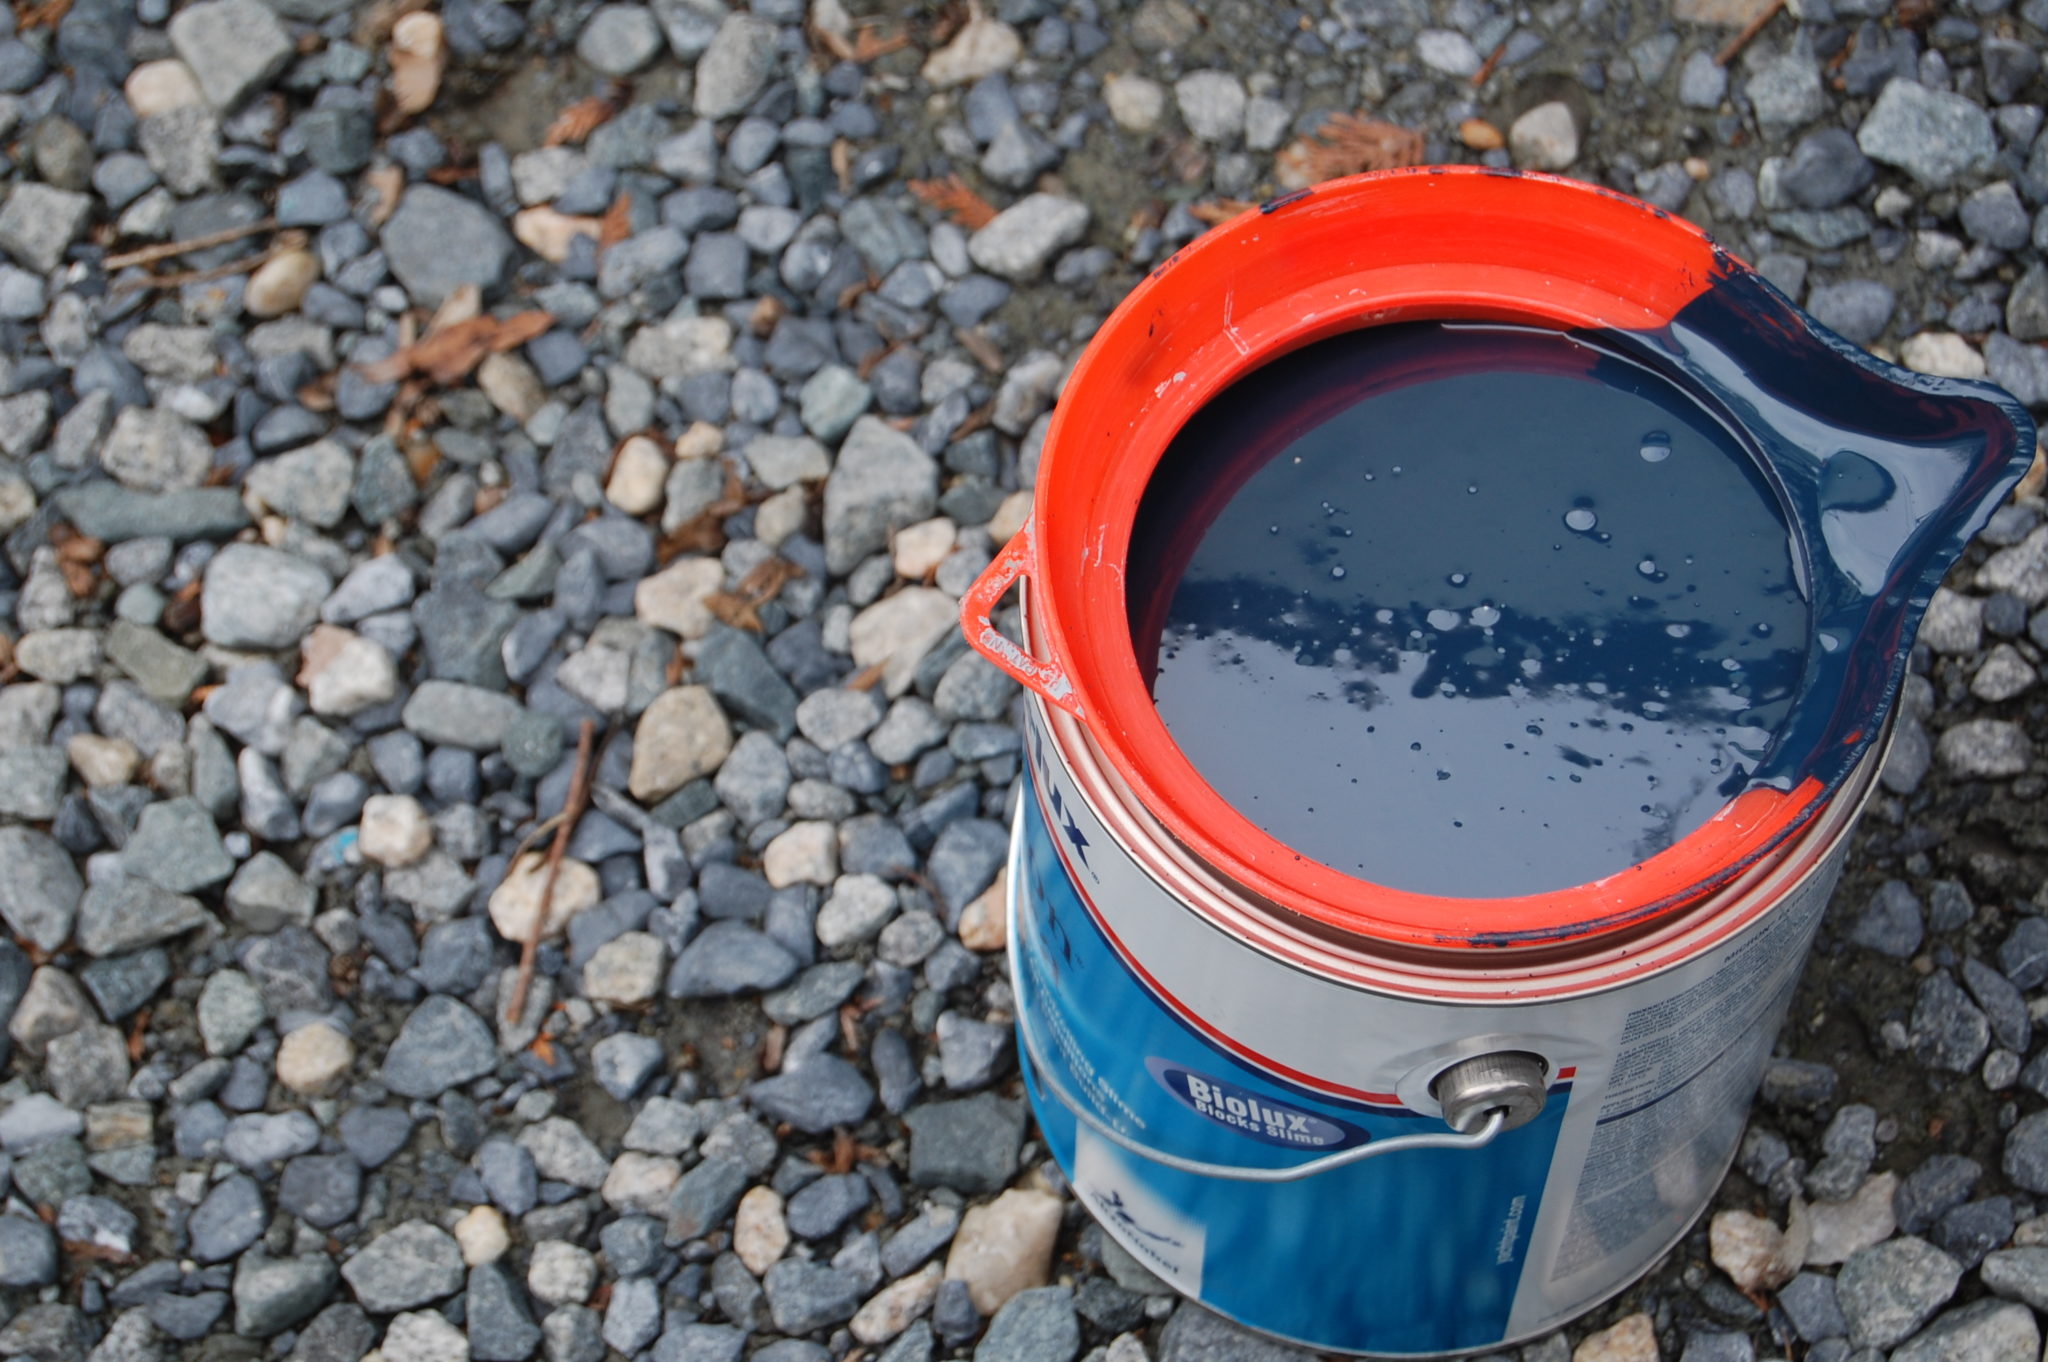
 Bottom paint is expensive. If you have any left over, seal the can well and you will be able to use it again. This is where the pour spout is most useful. Using it keeps the top of the can clean and lets the lid reseat fully and firmly.
I have used my left over paint 2 years later with no problems. It had not even skinned over. This may be a little bit of a challenge next time because the type of paint I have used the last 6 years has been discontinued. I will need to find a compatible replacement both in terms of bonding to the current paint and mixing with the half gallon of my left overs.
All the rollers, brushes, disposable gloves, and even the pour spout should go into a heavy duty plastic bag that gets tied closed securely and then put into the appropriate waste container. Check with your marina for information on proper disposal.
Check out Spring Prep Gear for bottom paint options
Summary
Watch this recap video highlighting how I painted the bottom of my sailboat, Bay Poet.
Painting prep and painting can be physically tedious but your bottom needs fresh paint for best performance. If you do the job right, your bottom paint could last more than one season, especially on sailboats. The ablation that occurs is likely to be more pronounced on power boats owing to the higher speeds at which they travel through the water. In any case, inspect, prep, and repaint as necessary.
Likewise, check your sacrificial zincs yearly. You will probably have to replace them at least once a year.
A little bit of maintenance will allow you to enjoy your boat for a long time!
Subscribe to my YouTube Channel for more how-to videos, sailing excursions and more!
I like your advice to do a walk-around inspection to identify any dins or defects in the boat’s fiberglass to get them repaired. When adding a top or bottom coating to your boat, it would probably help to hire a professional. A professional could ensure that it’s inspected and prepped properly so that it’s ready for the coating, which can then be applied correctly so you have the best results.
I have found the cost of have the marina prep and paint my 41-foot sloop to be somewhat cost prohibitive. The quoted cost is about $6000. I feel very comfortable prepping my bottom myself. I did my research and spoke with the marina service manager before starting. I have had to patch my rudder a couple of times but the bottom paint holds up at least 2 years.
It might not be a bad idea to inspect the boat with a professional in case one misses an important detail. However, from both a cost consideration and to become more familiar with my boat, I always prefer to do as much of the work myself as possible.