
Winter is a good time to do a thorough walk-around inspection of your boat’s hull, bottom and appendages for maintenance, repair or attention
Since I have owned Bay Poet, a Hunter 410 sloop, I have always had her hauled out during the winter. In addition to the crewed charters that I offer, my boat is also available for bareboat charter. It is not the kindest thing one can do to a boat because damage can occur from lesser experienced operators, but it does offset the cost of ownership.
I make a point of getting to the marina at least once a month while she is on the hard during the off-season. Winter storage affords me quiet time on my boat and opportunities to perform some detailed inspections and maintenance tasks which may not be otherwise possible during the sailing season. January through March is when I can get her ready for the upcoming sailing season.
Here’s a brief video walk-around showing how I do my winter maintenance hull inspections:
Now let’s take a deeper dive into what to look for in your winter boat inspection…
Winter Boat Maintenance Starts in the Fall
Winter maintenance actually begins, at the latest, with decommissioning in the fall.
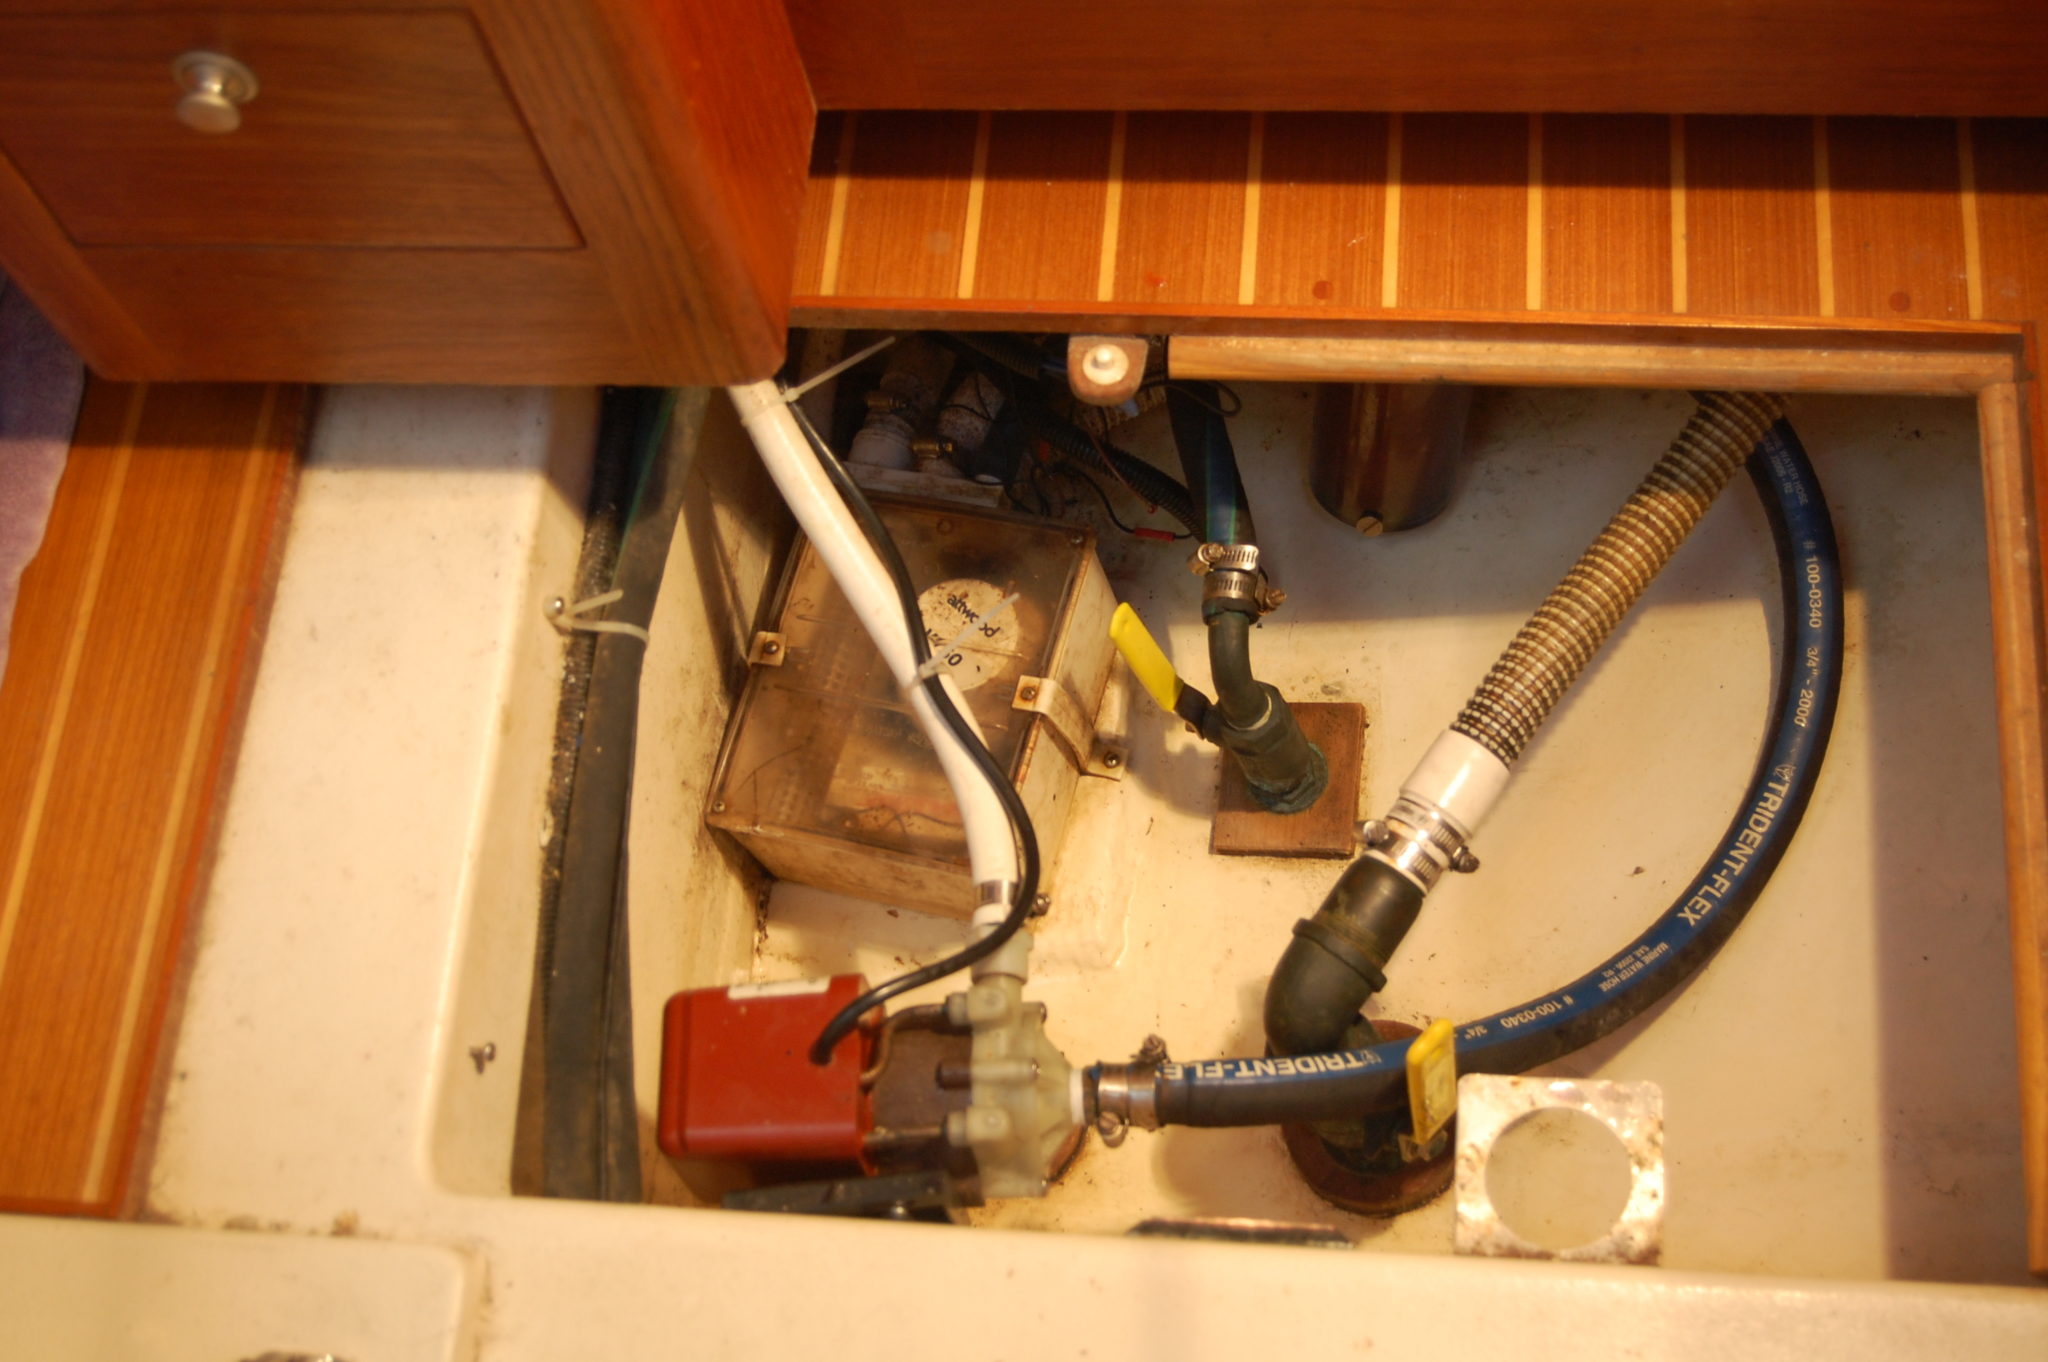
As you are removing gear and prepping your boat for a long winter’s nap, you should be noting the things that will need attention over the winter. This could be things like a faltering bilge or sump pump, the broken cord on the VHF mic, unacceptable wear on your running rigging or ground tackle, or missing or loose parts and fittings.
Make a list and prioritize by severity. Decide which things need professional attention and which items you will undertake yourself. If you will need your marina to perform some work, now is the time to give them a heads up. If you need parts or replacement items, take time to shop wisely, looking for the best reviewed items at the lowest prices.
I use an app on my phone called ColorNote to create my checklists. In this way, the list is always with me.
When planning your winter work, keep your requested launch date in mind. Delaying your spring launch might not be a big deal to you but the owners of the half a dozen boats blocked behind yours might think otherwise.
Walk Around Inspection
For most owners, access to the waterline and below is problematic during the boating season. While she is on the hard is a great time to make a detailed inspection of your hull, both the gelcoat topsides and the painted bottom. For me, the ideal time to inspect the topsides is when I am washing and waxing the gelcoat.
Gelcoat
Take a close look at every imperfection. Is it a flaw in the gelcoat, a dirt spot, or just an odd reflection? The reflection can be ignored. The dirt will wash away. The gelcoat may need some professional service if its integrity has been compromised.
Things like gouges, deep scrapes, and especially missing layers that might reveal the core need to be addressed before that hull is exposed to seawater again. You might think a small defect is no big deal but if the fiberglass or the wood core get wet, the whole structure of the boat will become suspect.

You may recall the yacht surveyor tapping on your hull with a small wooden hammer during your pre-purchase survey. He was checking for conditions like delamination and water in the core. In both cases, what should be a sharp whack would be a dull thud if the fiberglass or core were compromised.
Don’t go wailing on your hull with a ball peen hammer and say Capt. Rob told you to do it! I said a SMALL WOODEN hammer and I said TAPPING. While you might attempt this kind of test, a conclusive diagnosis is best left to professionals.
Wash your gelcoat thoroughly. Get all the dirt and salt off. Pay attention to the crevices under the deck-hull joint and the rub rails.

A good coat of wax goes a long way. You should not have to dry the gelcoat to bone dry before you start waxing. I prefer to do that when the temperatures are at least 50° F for personal comfort, if nothing else.
Use a high quality wax. I like 3M Ultra Performance Paste Wax. It goes on easily and if you don’t let it sit too long, it polishes easily to nice sheen. I had that telltale Chesapeake brown tea stain on my waterline until I began using this wax. Now, the stain is nowhere near what it used to be and it cleans off easily.
I get odd looks from those at the marina but the last 3 years, I have washed and waxed my boat in January on a mild Saturday.
Rudder, prop, strut, and prop shaft
 Don’t forget the running gear either. Does your propeller have sacrificial zincs on it? It is almost certain that the prop shaft does. Zincs protect the important metal parts of your boat from being dissolved by electrolysis.
Zincs are cheap protection. Do not neglect them. I replace mine every winter. I have two on the prop shaft and a conical one on the face of my prop.
Next, grab the prop and try to wiggle it. If the shaft moves in the cutlass bearing by more than about an 1/8”, you should have the bearing inspected or serviced by your mechanic.
Do you use a folding prop? When was the last time the prop was serviced? It should be greased regularly and the springs and pins may need to be replaced if they are worn.
If you are big into performance, you may want to inspect the propeller blades for dents, dings, and other defects. You can get the propeller machined and polished to remove minor imperfections. However if you hit an underwater obstruction or fouled your prop along the way, the prop or shaft may not be reasonably salvageable if either is grossly misshapen.

 The same sort of thing goes for your rudder. Make sure it moves smoothly left and right but that there is no unusual wobble or looseness about the rudder post. My rudder is a really BIG wing shaped construction. When the boat is in the water, the rudder will float up some.
Given that my rudder is a hollow fiberglass device mounted on a stainless steel post, there are opportunities for water incursion. It is a good idea to occasionally drill small holes to let such rudders drain and then dry out during winter storage. I have even gone so far as to put heat lamps on my rudder to make sure there is no ice inside and to encourage drying.
Obviously before launch, you will want to repair the holes including fiberglass and bottom paint. It is not unusual to see increased wear on the leading and bottom edge of your rudder. It may be that it will need an annual touch up of bottom paint, if not a new underlayer of barrier paint as well.
Next time…
I like to do as much of my own repairs and servicing as I can. It helps me become more familiar with my boat and its systems and it surely helps me save on the cost of professional labor.
In part 2 of Winter Boat Maintenance, I will present some how-to advice on things like painting the bottom, replacing components like water lines, shower sumps, and bilge pump float switches.
Trending Now: Must-Have Boat Gear for Your Boat Life
Trending Now: Custom Boat Decor
-
Boat Pillow with Boat Name & LAT LONG Coordinates
Quick ViewBuy on Etsy -
Boat Pillow with Boat Name & LAT LONG Coordinates- Black
Quick ViewBuy on Etsy -
Coastal Blue Stripes Bathmat with Anchor & Boat Name
Quick ViewBuy on Etsy -
Custom Boat Mat with Boat Name & LAT LONG Coordinates
Quick ViewBuy on Etsy
Disclosure: This site may contain links affiliated with companies where we receive compensation. Also, as an Amazon Associate we may earn from qualifying purchases we refer but it does not impact the price you pay. Full disclosure policy.





I like that you said that working on your own boat saves money on professional labor. If I had a boat I would want to hire a professional so that I knew that I would be doing everything right. You may want to consider the level of difficulty of fixing your own car.
I did mention that an owner should consider what jobs they can do and which should be done by professionals. I do my own oil changes. I have installed a television, a new stereo, and a new VHF radio. I have also replaced components on my heads, replaced incandescent lights with LEDs, installed cabin fans, and replaced various running rigging. I also paint my own hull. My marina has been into me for well over $4000 in repairs on my boat. So I am one who absolutely knows my limitations and who does not let hubris get in the way of making the right choices regarding the maintenance and repair of my boat.