


Last time I discussed some basic ideas on planning your winter maintenance chores and conducting a walk around inspection of your boat when you first visit her after she has been hauled and blocked.
 In this article, I will get into replacing a faulty shower sump. I had planned to discuss more such as installing a new 12V socket and replacing prop shaft zincs but the weather this past weekend was not at all conducive to outdoor tasks. So instead I chose to focus my winter maintenance on a new shower sump pump.
Below are are my step-by-step instructions, along with a how-to video detailing all the necessary steps in my shower pump installation project from start to finish.
Replacing a Shower Sump Pump
Step 1
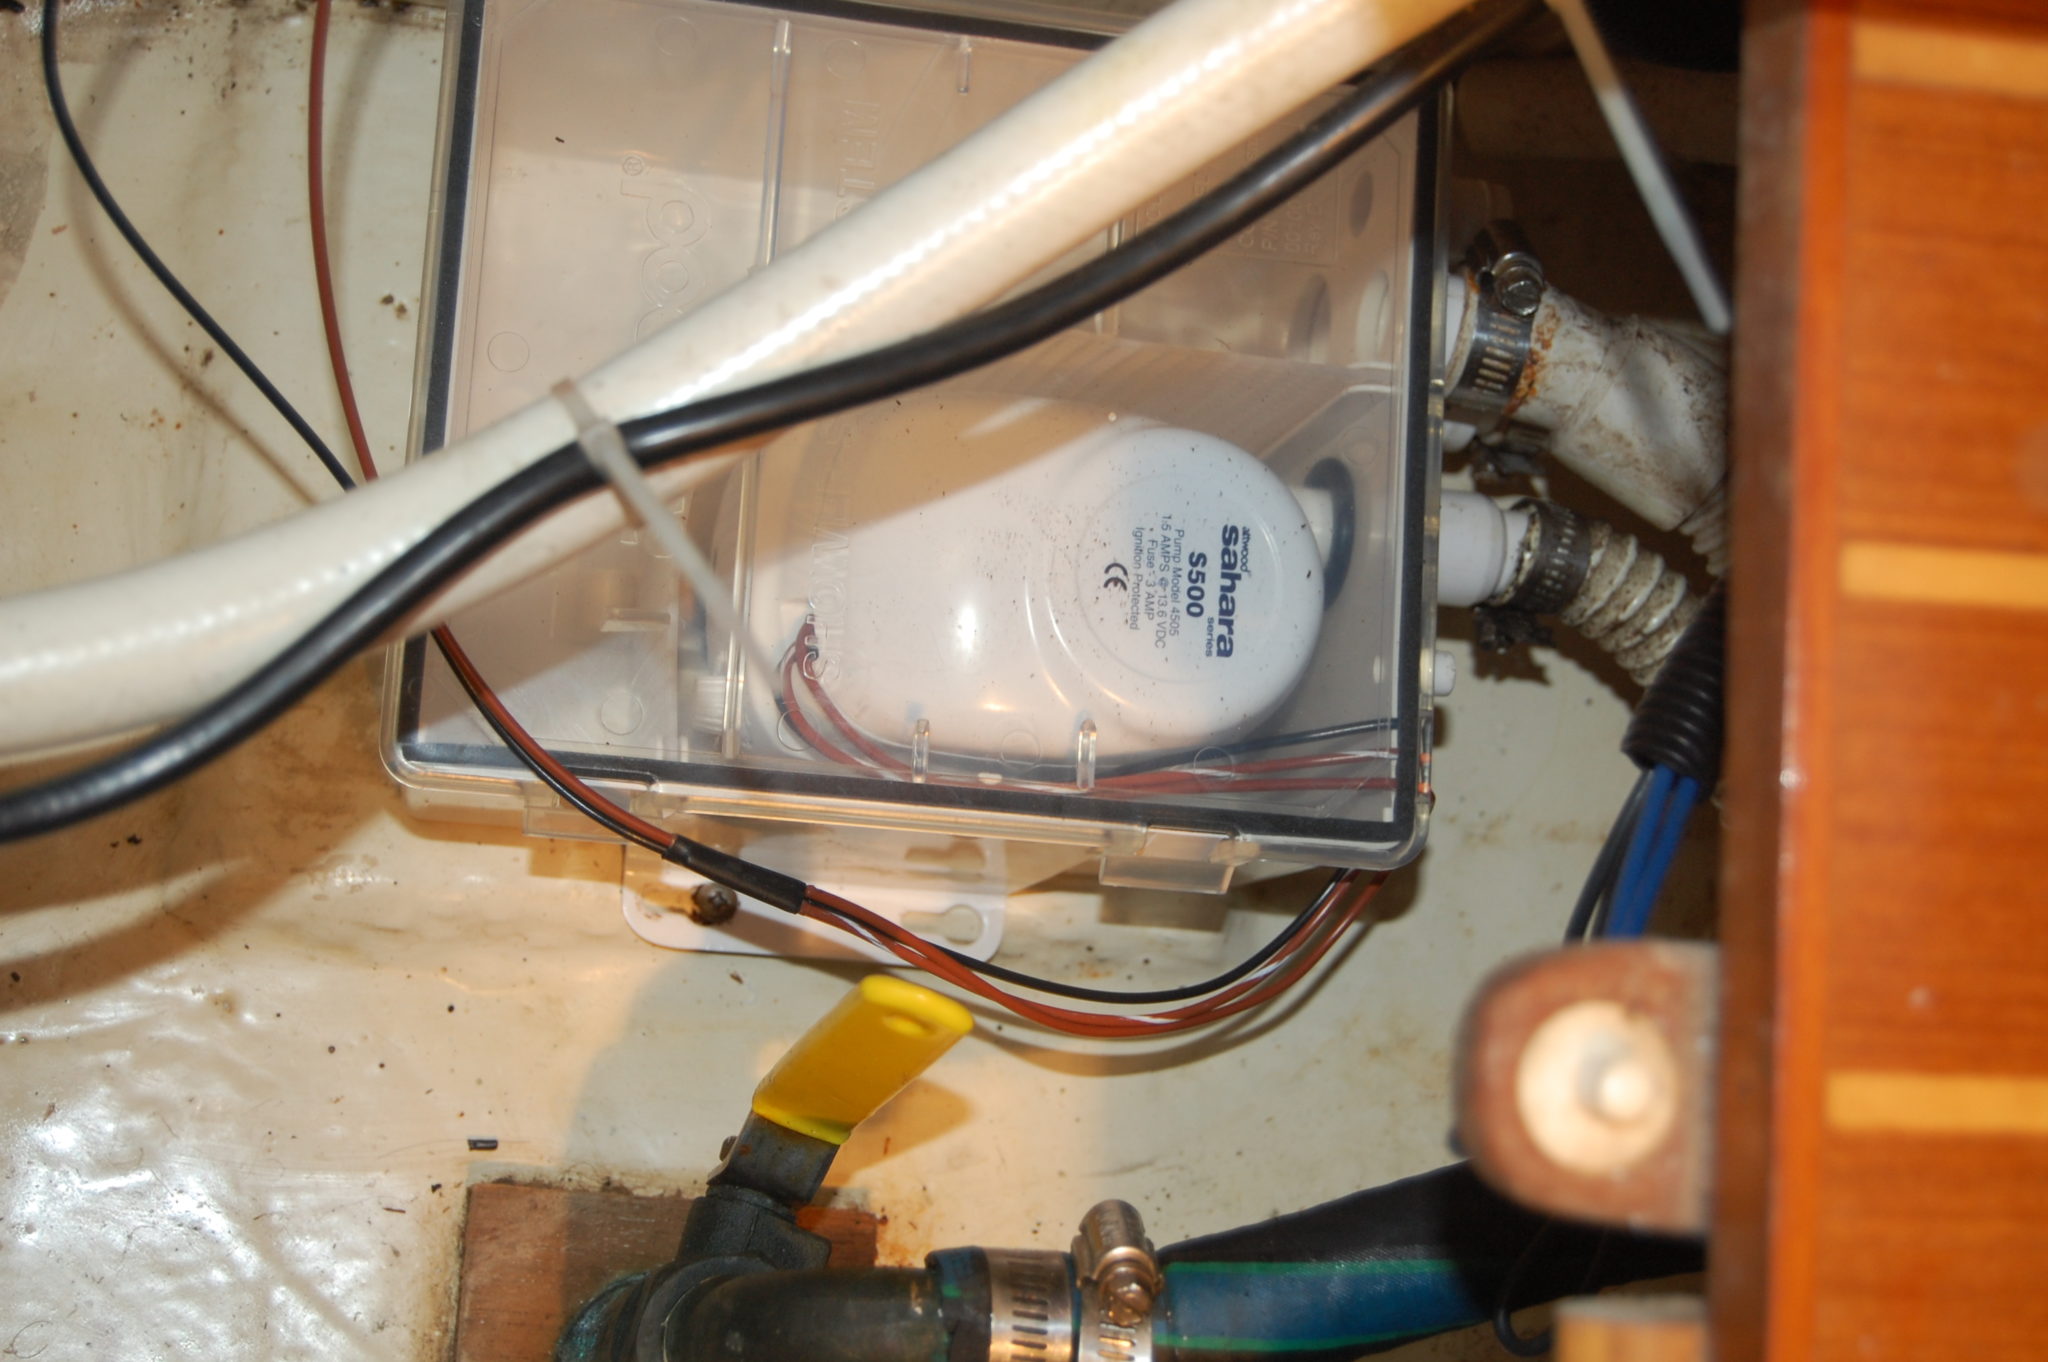
You may recall that I had previously suggested that you should make a thorough inspection of things on your boat as you are doing your decommissioning. As part of my inspection and my winterizing of the water system components, I realized that shower sump for the aft head was not working.
It may have been a faulty float switch or maybe it was the sump pump motor but it was really not worth trying to diagnose which component was faulty. It was more cost and time effective to look at replacing the entire integrated unit.
Step 2
 Given all that, I selected the Attwood 500 GPH unit (Model #4141-4). I chose this one in part because I had previously installed an identical unit for the forward head. Additionally, the unit being replaced was an Attwood and it had lasted 18 years.
The new unit comes completely assembled. There is a 36” 2-wire pigtail for the electrical connections. The unit also has three blind tube nipples of various diameters. The idea is that you first determine what size tubing runs from your shower drain (or bait well as the case may be) and then drill out or cut the nipple to be used.
I used a hack saw to cut off the blind ends of the two inlet tubes that I needed. The outflow tube is already molded open.
I also gathered hose clamps, crimp connectors for the electrical connection, and the various tools I needed. Note that you really only need one hose clamp on each of these tubing connections since this is not a critical water connection and the output is usually above the waterline.
Step 3
Fortunately, the aft shower sump is in a very accessible position beneath a removable sole plate in the galley. The most challenging aspect of the installation is making the hose connection in the constricted space of the corner of the compartment.

I took my time at each step of the process. I took note of the position and connections to the old pump and carefully positioned the new sump pump before drilling a new hole for a mounting screw. (I was able to reuse one of the two existing holes.)
Then, I measured at least twice and maybe three times before I cut the openings on the inlet tubes. I also was careful to determine the voltage polarity on the lines by measuring the supply side and reading the directions for the new pump before making up the electrical connections.
Summary
While the overall task was straightforward and not complicated, it nonetheless took 3 hours to complete. Much of that time was due to being appropriately careful with measurements, cutting, and drilling.
The final result was a new shower sump ready for the season! And yes, we did test it before we called the job done!
Video of Sump Pump Replacement
Capt. Rob takes you step by step through replacing a shower sump pump system on his 1998 Hunter sloop, Bay Poet.
Next time…
My next article will be on the final preparations before launch including prop shaft zincs and painting the bottom. We will also run down the final checklist before launch and spring commissioning.
Love the boat life? Check out these picks for your boating lifestyle:


Disclosure: This site may contain links affiliated with companies where we receive compensation. Also, as an Amazon Associate we may earn from qualifying purchases we refer but it does not impact the price you pay. Full disclosure policy.


great idea with the male-female crimp connectors for easy disconnect if needed . thanks for the tip CaptDen
My pleasure. You may also want to apply a thin layer of dielectric grease on the male connector to keep the contacts protected against damp or outright wet environments. I like using the male/female connectors because a) they allow easy debugging and b) we all know that systems on boats fail. It makes the replace or upgrade easier.